


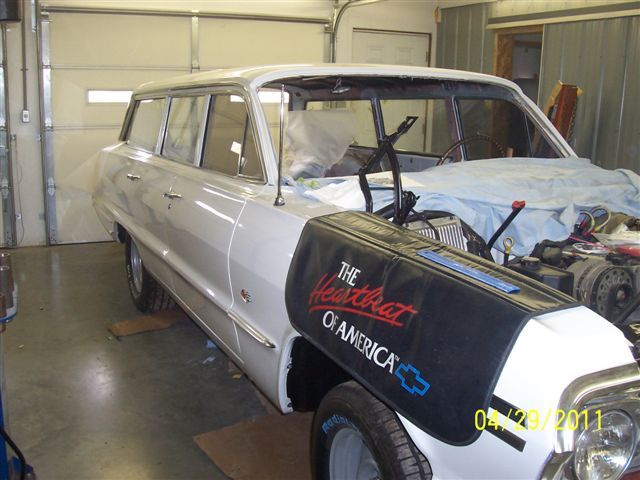
1963 Impala restoration project.
This is a story about an American classic that was acquired, rebuilt, and restored. Republished with permission from Neal Hartman. Captions, photos, and story are primarily by his father, Mark Hartman.
——————————————————-
May 6th, 2011:
I have some good news.
No, the car isn’t done yet. That’s not my news.
I have more pictures. That’s the good news. So good, in fact, that I actually have two sets of pictures and letters to update you with.
The ole girl is coming along quite well now and is almost starting to look a little bit like a completed car. But, like I said, almost.
Anyway, as usual, here is the first letter and first set of pictures received from Rick last week.
Mark,
Here are some more random pics for you to view.
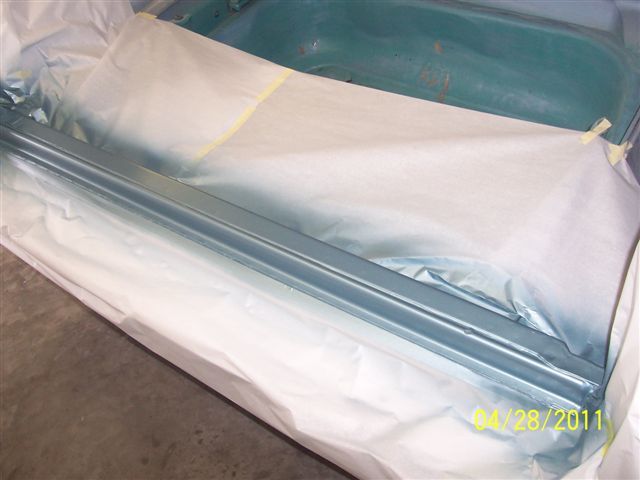
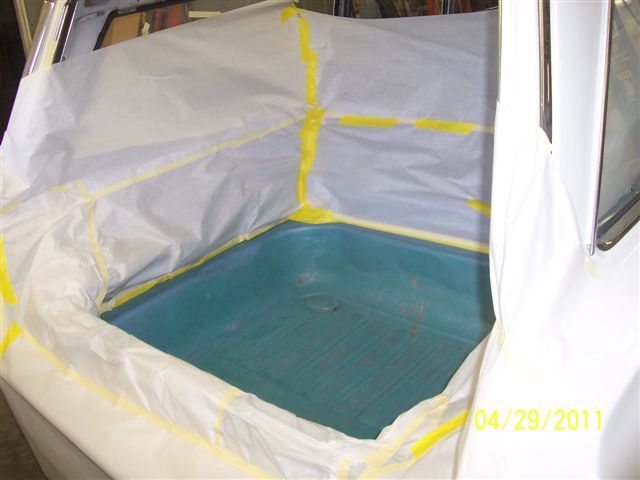
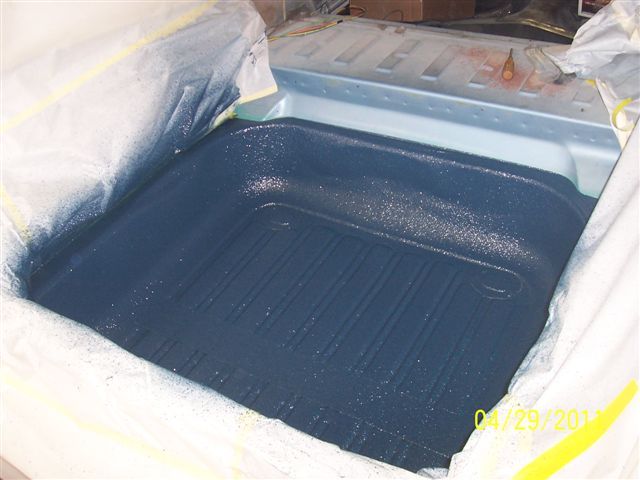
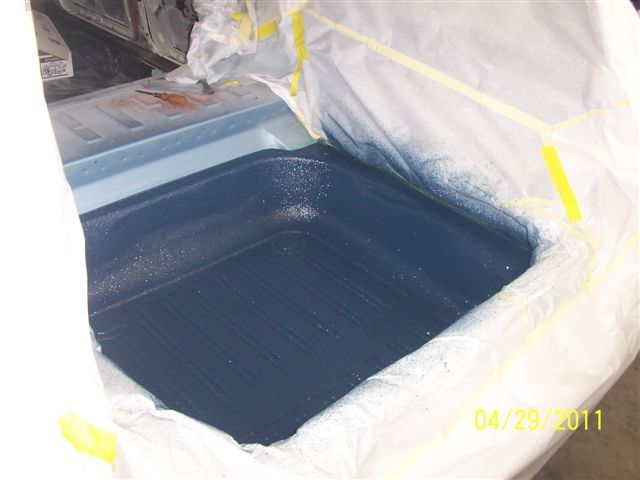
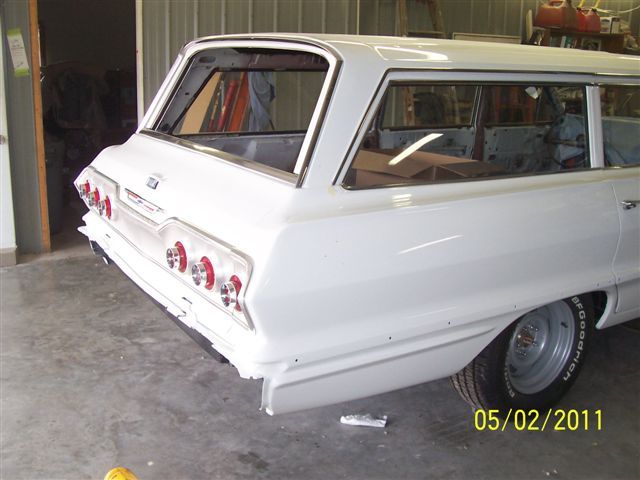
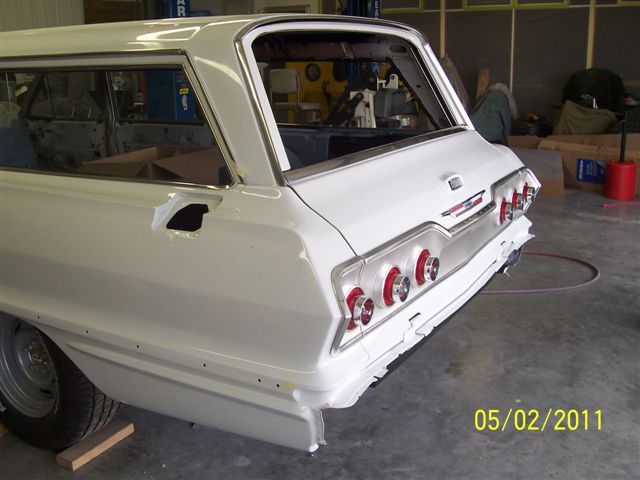
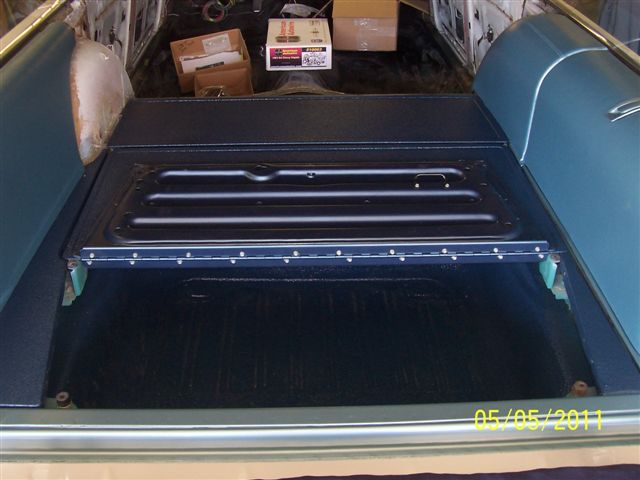
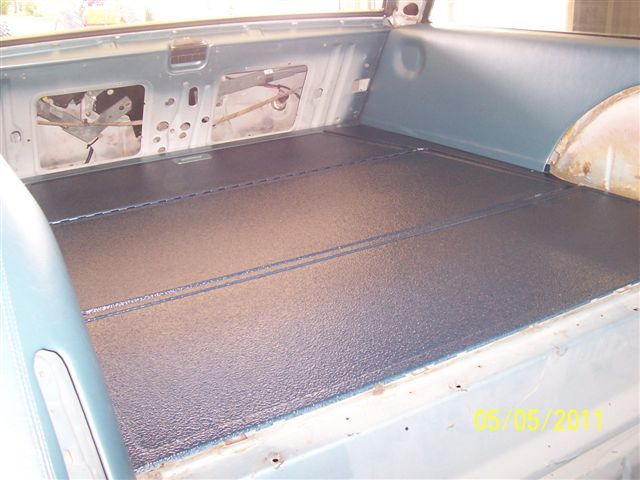
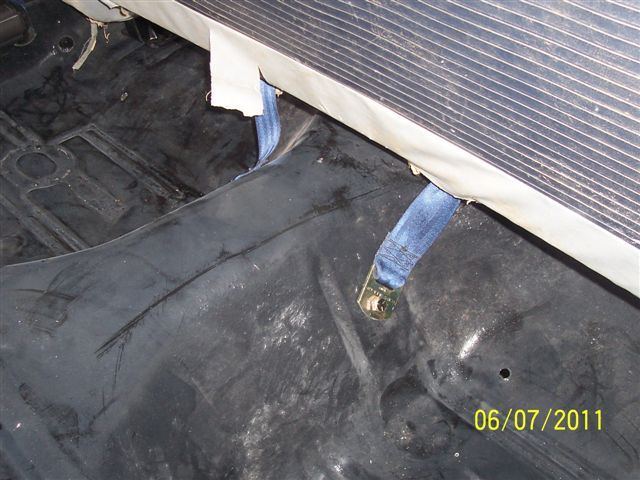
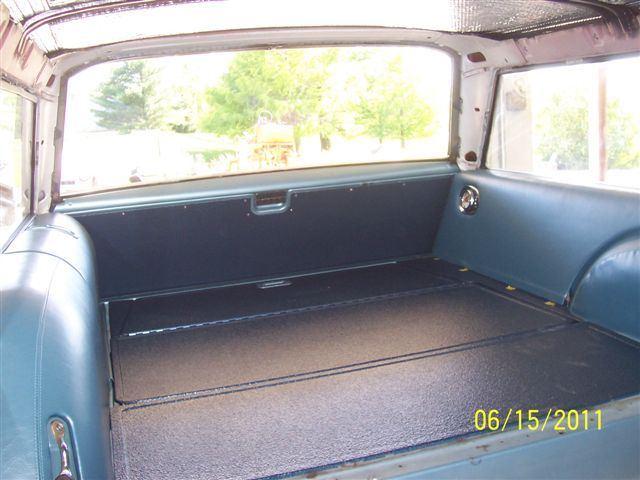
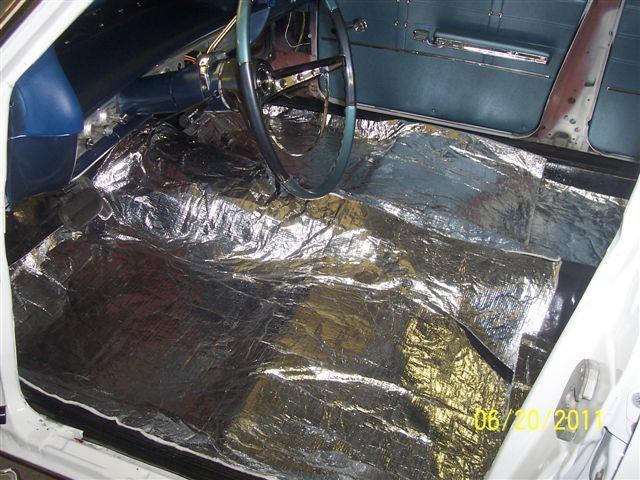
I finished all paint work, including tinted bed liner in rear footwell area today. ALL paintwork is now completed.
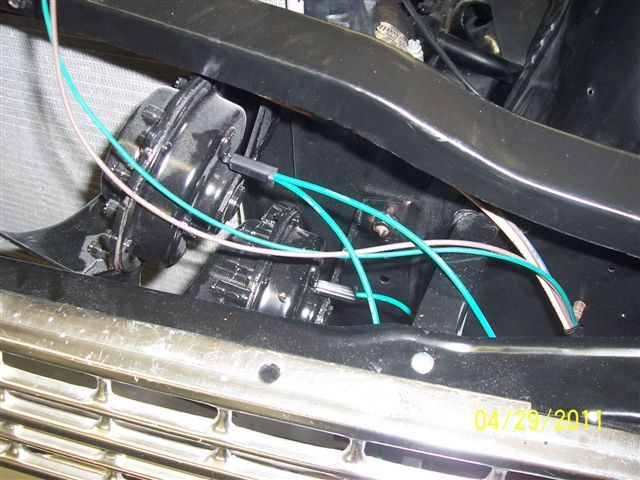
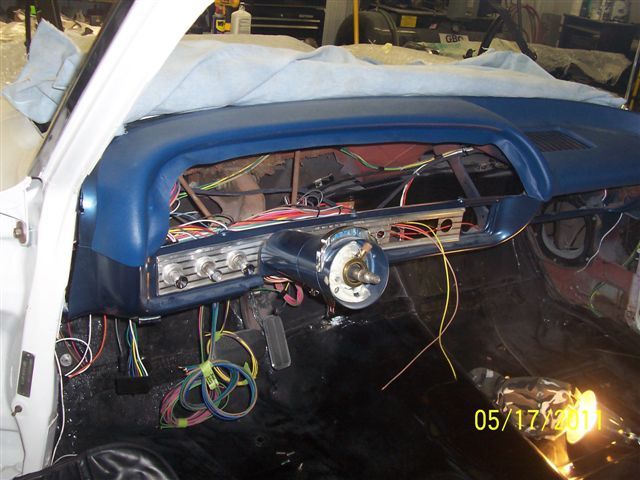
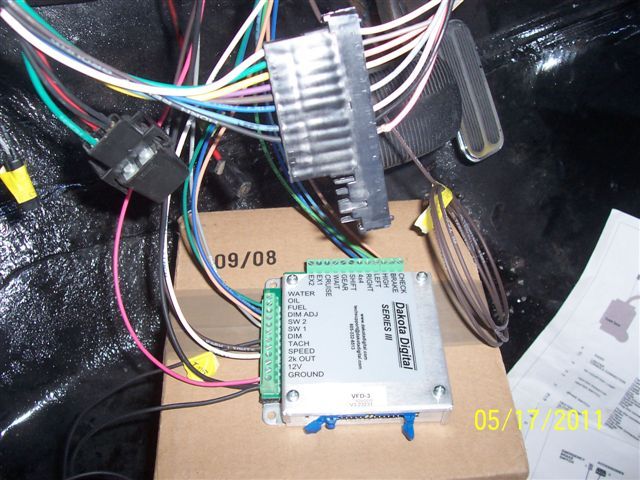
I have the front (firewall forward) about 90% wired. Just have to iron out a few details with Don Bach next week.
Progress is going very well, so I hope I can get this wagon done soon. Interior will progress quickly now. Will send you more pics as I progress.
Ole man in MO
——————————————————-
Now, as I mentioned, there are more pictures. So, here’s the letter…
Mark,
Here are some more pics.
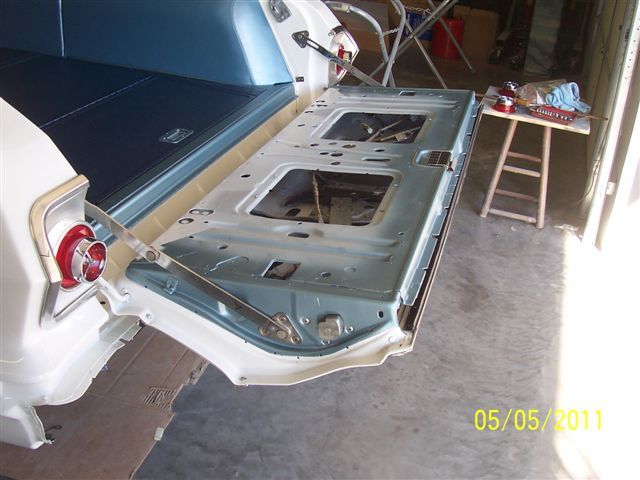
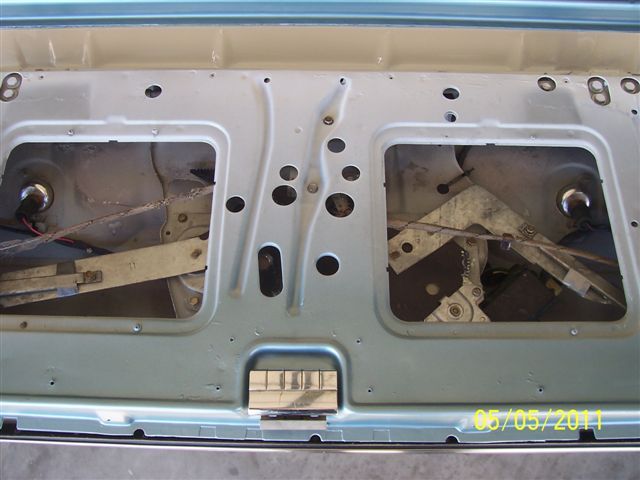
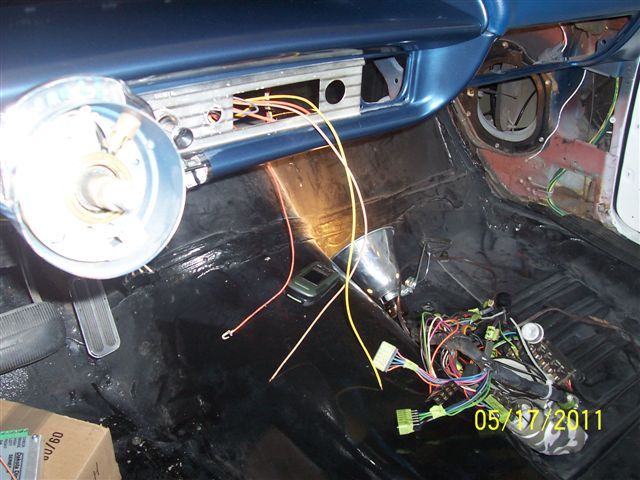
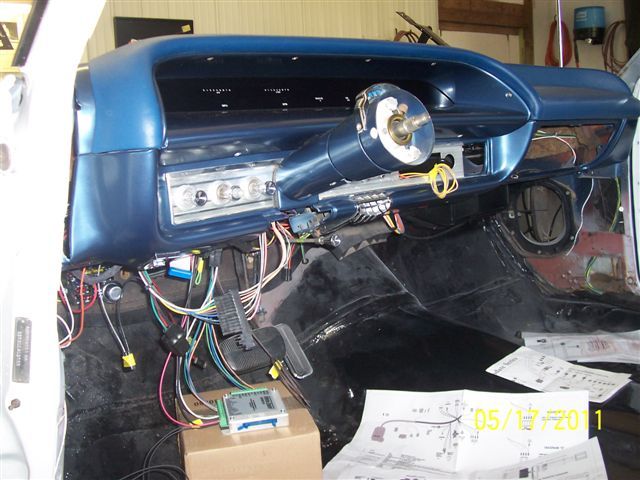
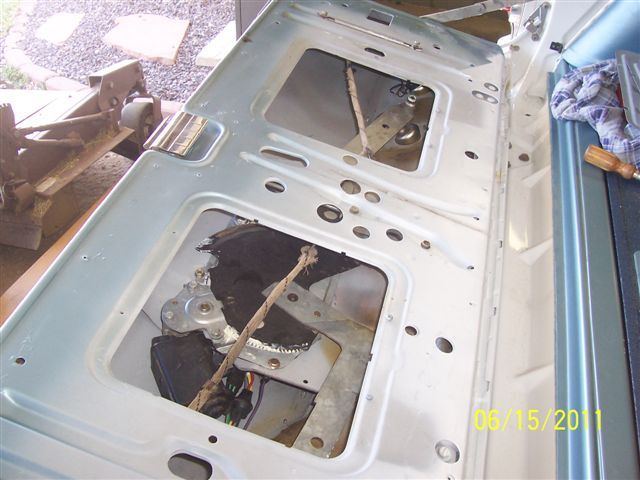
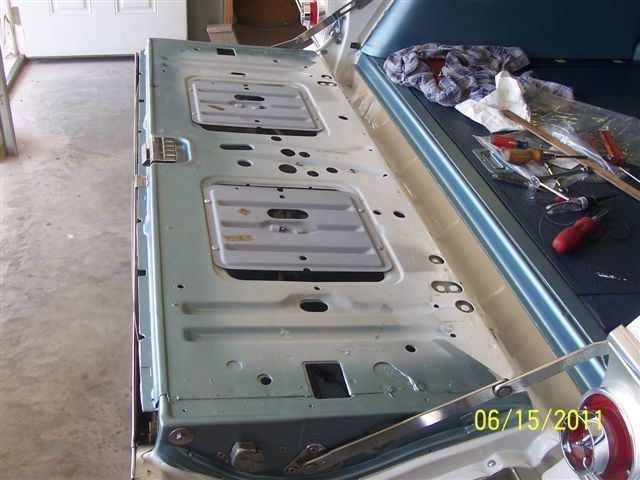
Wiring is completed to rear of car including the tailgate. I was able to figure everything out,and have not had to call Don as of yet. I was able to run 95% of the wiring down the right side as was stock. The wire loom that works the tailgate and power window has its own loom. The taillight, brake light, license light, feed for gas gauge and fuel gauge has their own loom. So far everything is falling into place pretty well.
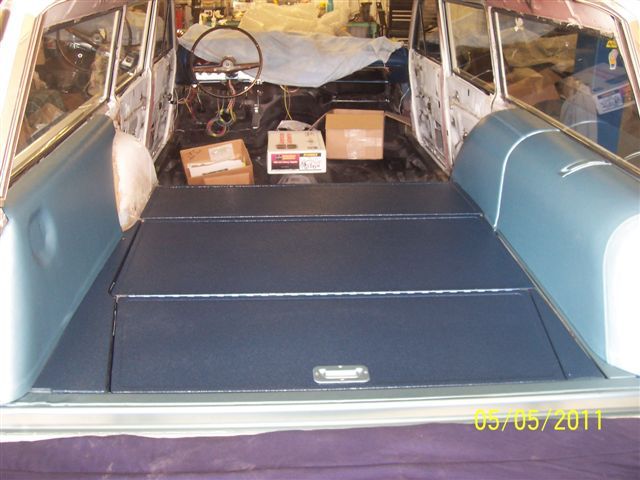
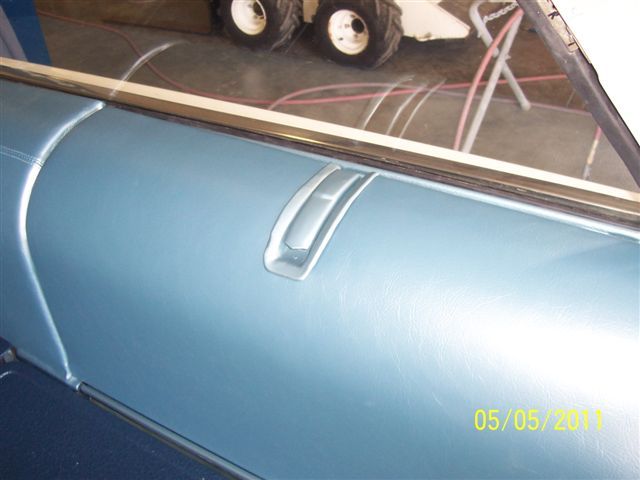
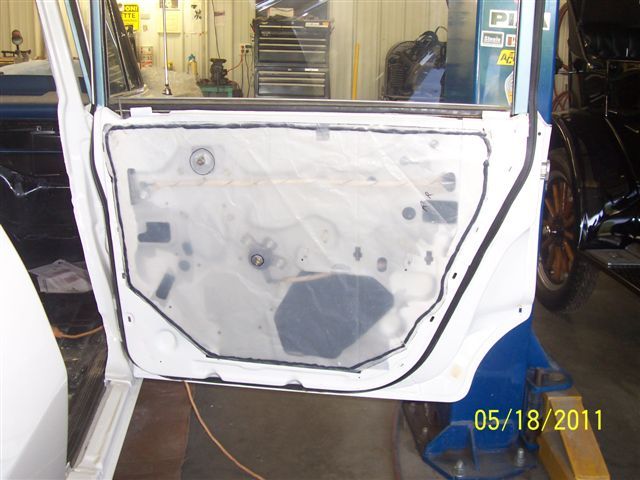
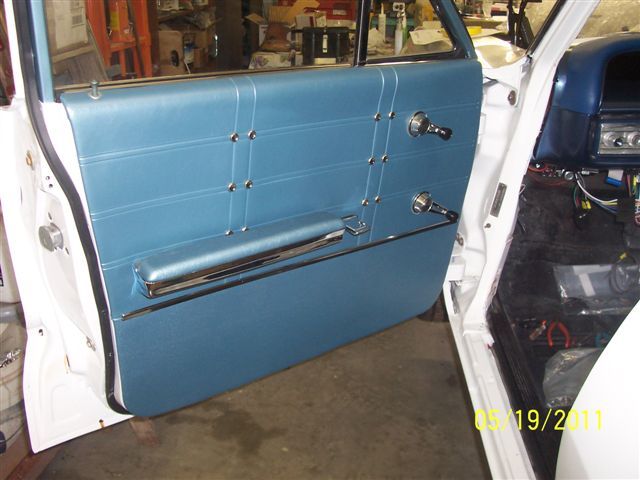
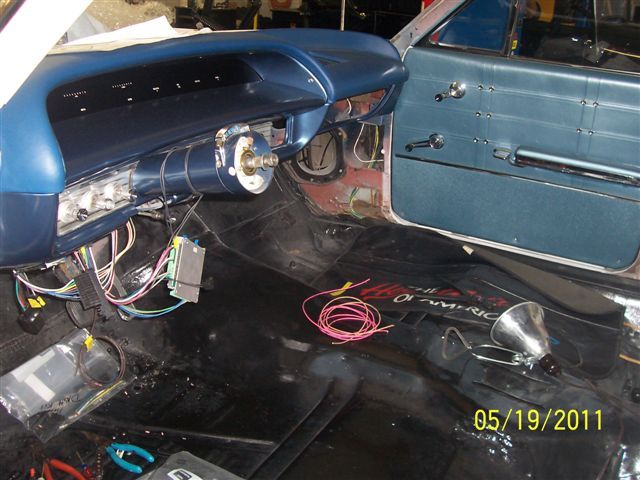
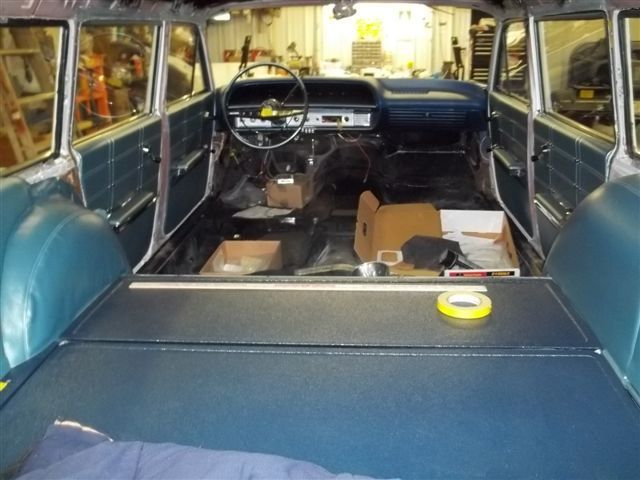
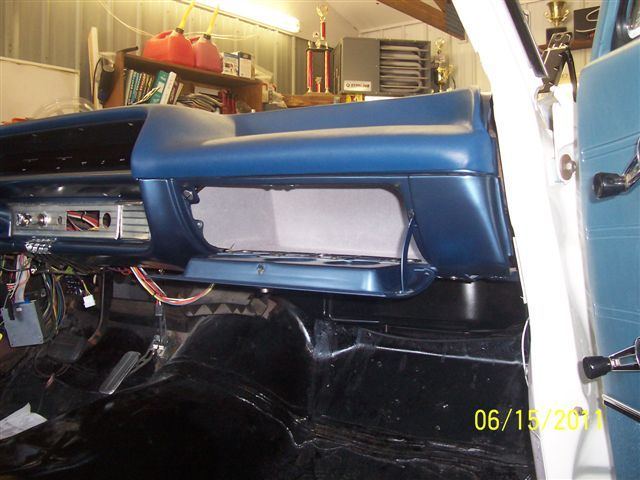
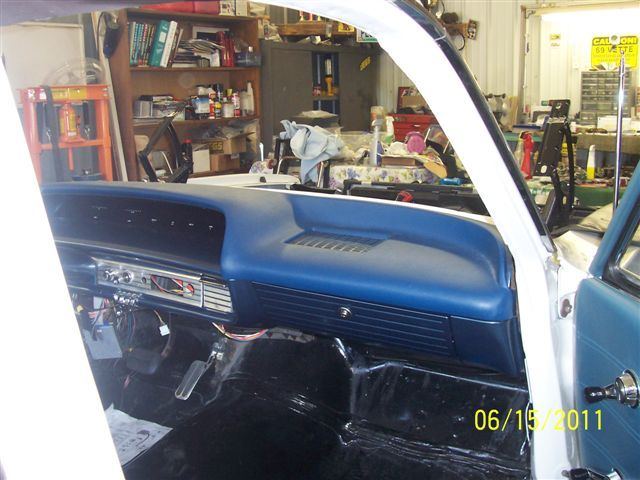
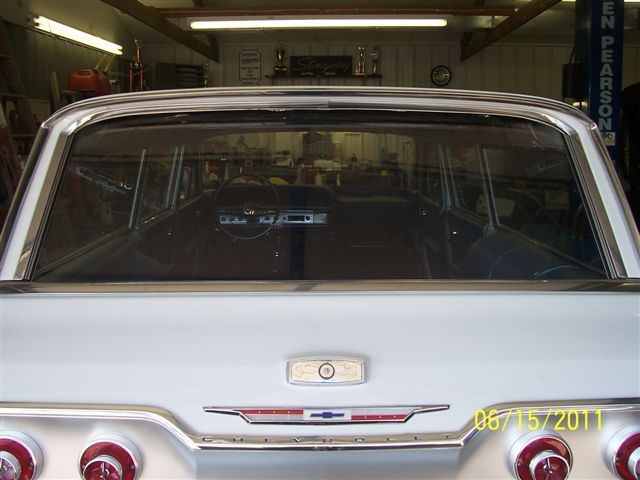
I’ve now started installing the rear cargo area, as you can see. I won’t install the rear glass until I can test wiring for proper function with key switch and switch under dash.
The camera kinda washes out the color of the interior but it looks killer in person.
Talk to you soon,
Ole man in MO
And…the pictures:
This thing is getting so close I can almost picture myself driving it home. I have so many plans that I want to do with it once I get it home. I really am having a hard time waiting, but as the adage goes, “Good things come to those who wait.”
——————————————————-
May 23rd, 2011:
Well, all. Here we are with another update on the old girl. It seems to be getting closer and closer and I am getting more and more excited (read: impatient) to get her home in the garage.
As usual, Rick has included his customary e-mail to let us know what the progress on the wagon is.
Mark,
More pics for you.
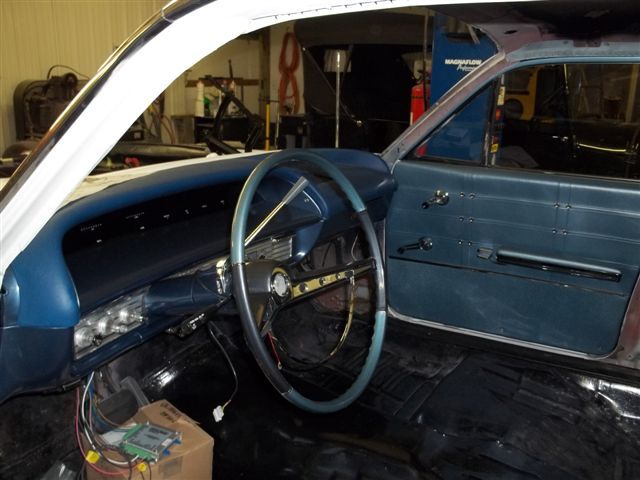
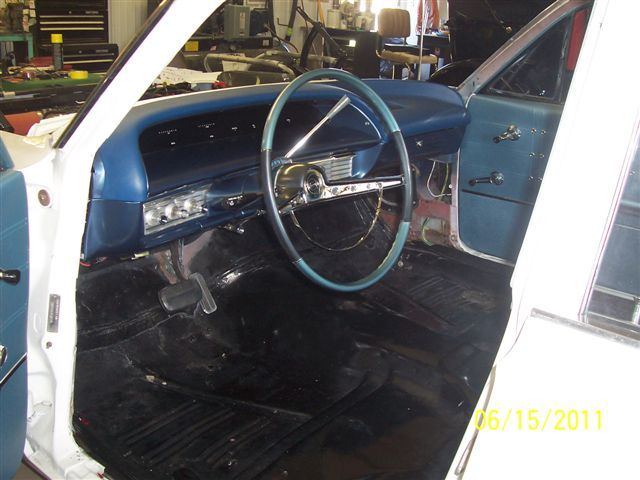
As you can see, things are going together pretty good. I’ve been working back and forth between wiring and installing interior as they kinda go hand in hand.
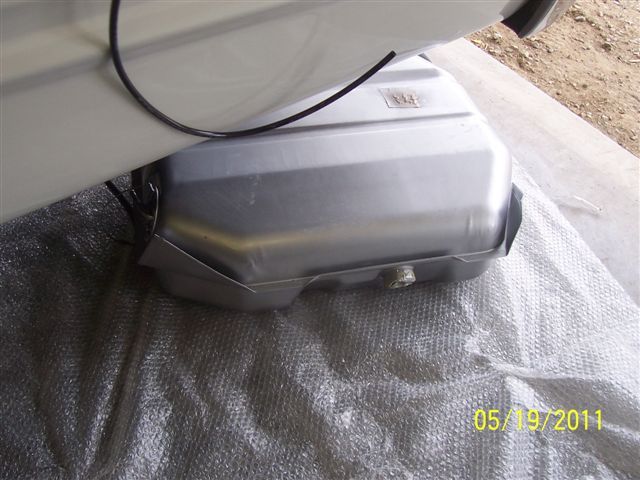
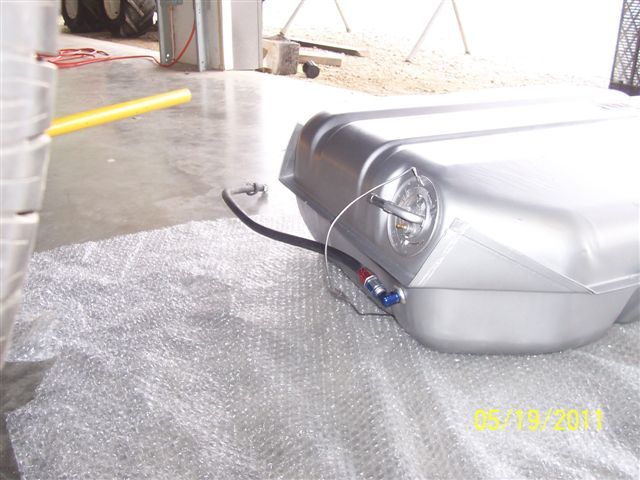
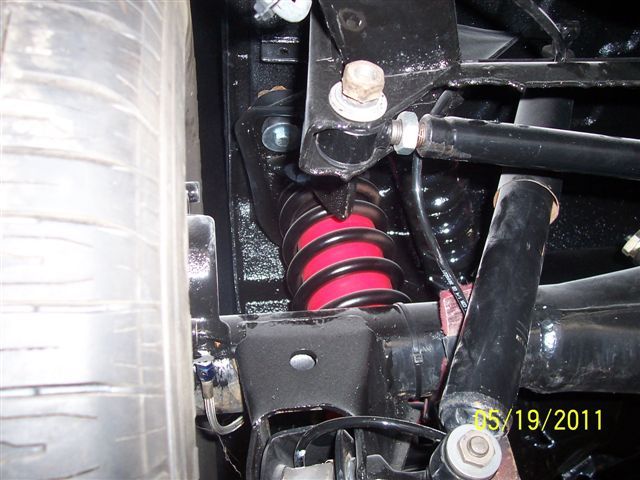
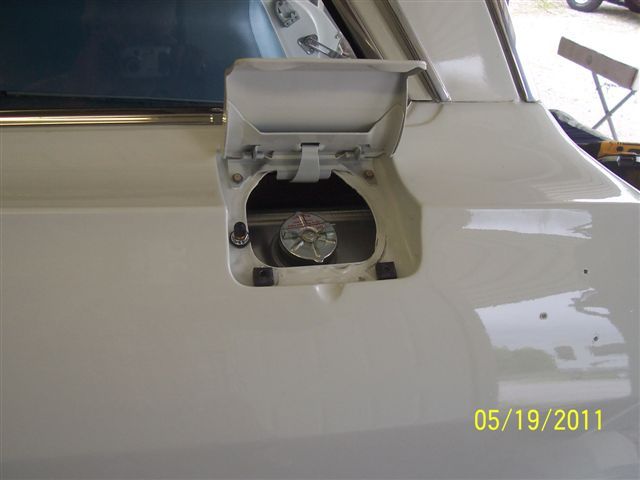
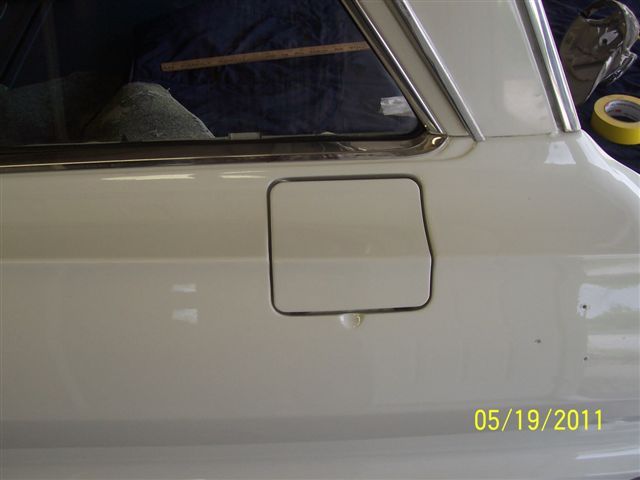
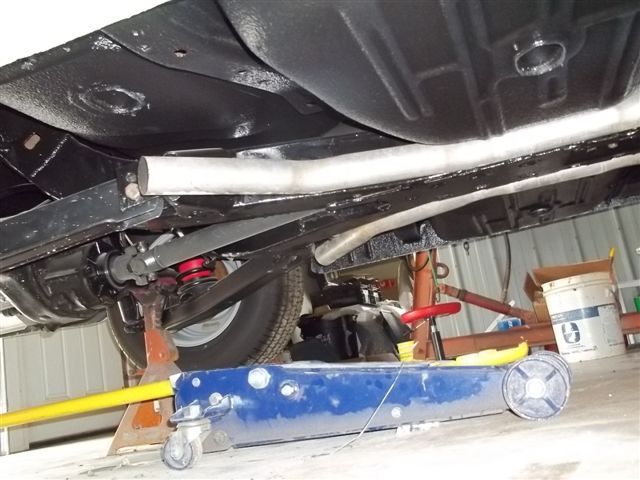
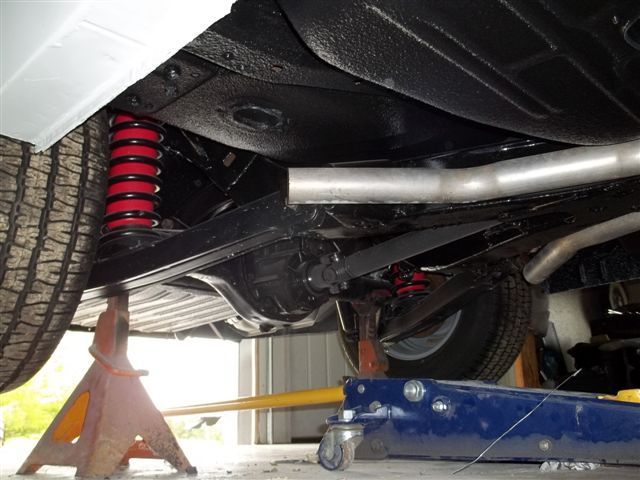
The fuel tank, wiring for fuel tank, and air ride are now installed. Air fill (Schrader valve) for air ride is now located in the gas tank filler door and is aired up to 10 PSI. No air leaks!!!!!!!!
I have just a few connections to iron out on the engine hookup and I have figured out where all but one goes. I will have to talk to Don about it.
I’ll be working on the gear selector/shift hardware today so I can START this ole girl before long!!! Exhaust hookup will follow after that so starting her up is not far away.
That’s all I have for now.
Ole Man in MO
And, what you have all been waiting for…the pictures:


On a side note, I know about the tornado that struck Joplin, MO, and I hope that any/all affected by this are doing ok. You are all in my prayers.
——————————————————-
May 27th, 2011:
Ok, gang. Looks like Rick wanted you all to see some more pictures of the build. So, since I am paying the guy, might as well give him what he wants.
As usual, the letter and the pictures follow.
Not much longer.
(For the record, Rick, I am doing this because I have nothing better to do, but I know you like the crew looking at thread. Hopefully you’ll be able to read some comments from them.)
Mark,
More pics for you to look at. Sorry I didn’t get these out last night but my camera was at the shop that I
took these pics in. Hope this gives you something to enjoy until you make it down Thursday.
Hope you, the wife and family have a SAFE and HAPPY Memorial Weekend.
Rick
Here’s a nice picture of the Missouri sky. So pretty.

——————————————————-
June 4th, 2011:
Now, so as not to make my son look like an idiot, I suppose I should get to getting and post up some pictures for ya all to look at.
This time, though, there is no e-mail from Rick. My wife and I drove down Thursday for a couple things.
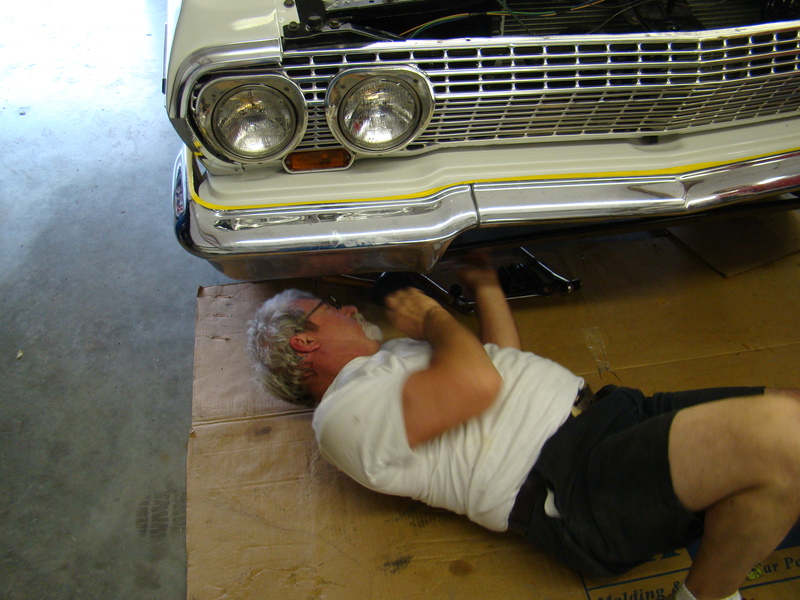
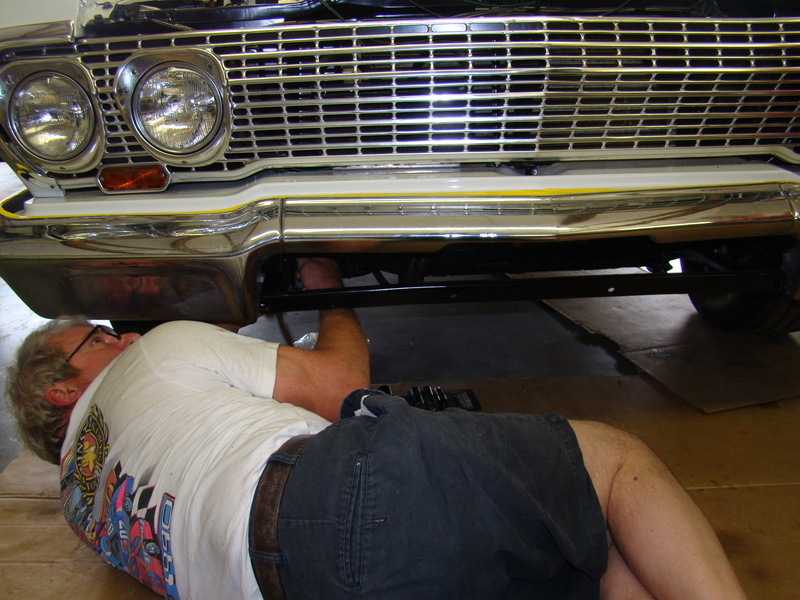
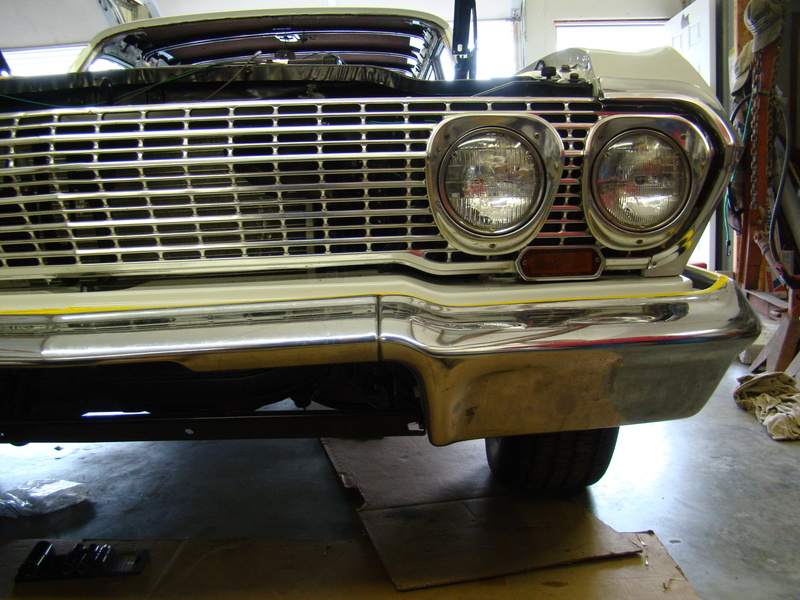
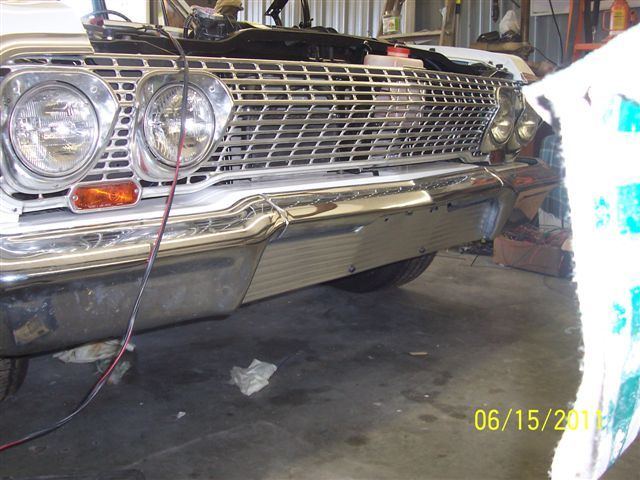
The car is coming along quite well. My wife and I had a part in installing the front bumper with Rick getting the assist.
The front bumper license plate thingy was installed after my wife and I left to come home, so unfortunately, I don’t have any pictures of that yet.
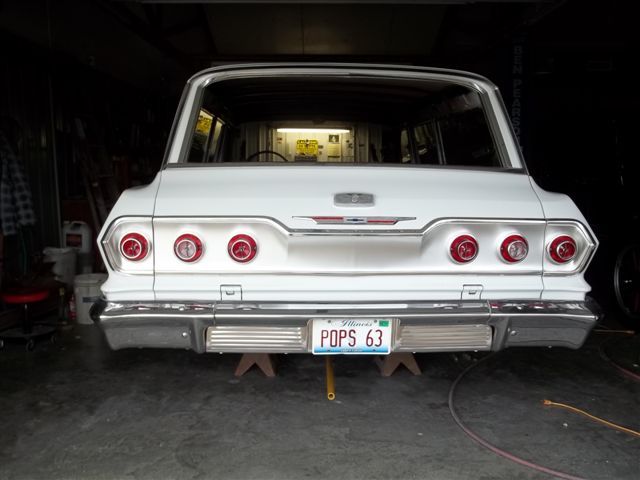
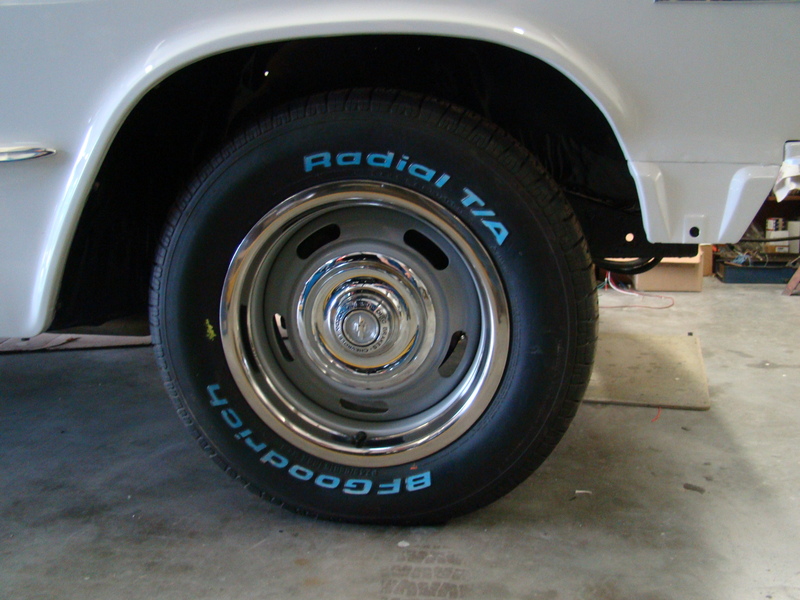
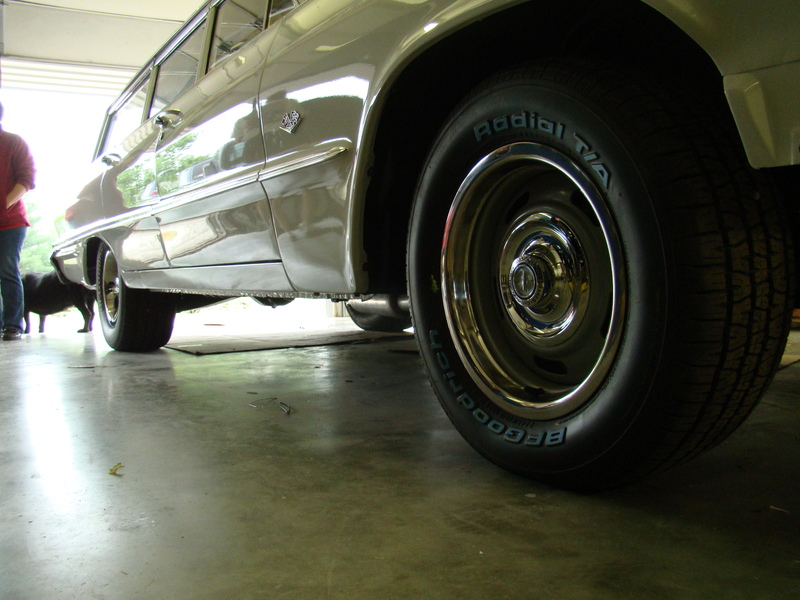
The Rally wheels now have trim rings and center caps. The deep trim rings on the back 8″ wide wheels and the shallow ones on the front 7″ wide wheels. The center caps are the short type that don’t stick out too far.

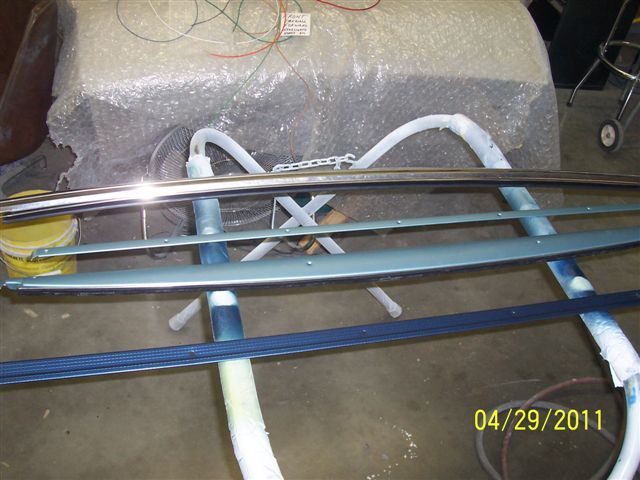
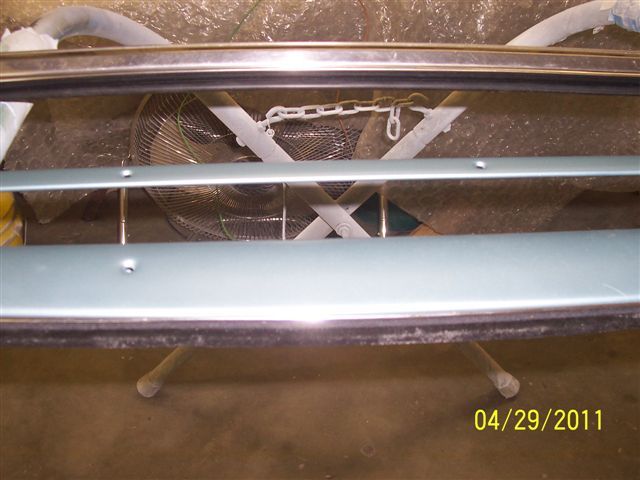
Also, the body moldings have been placed on both front fenders, front and rear doors, and rear fenders to the bumper (which will be removed prior to color sanding, then reinstalled). Just waiting to get the Impala logo on each rear fender.

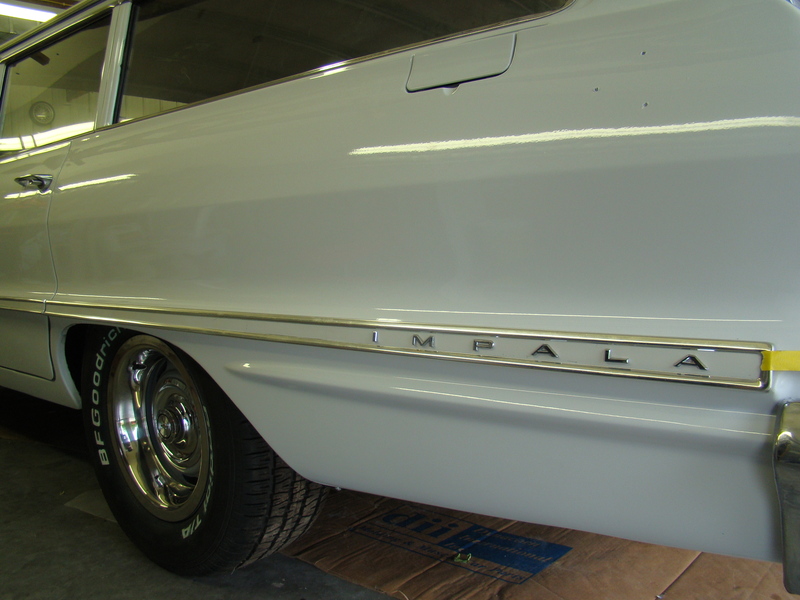
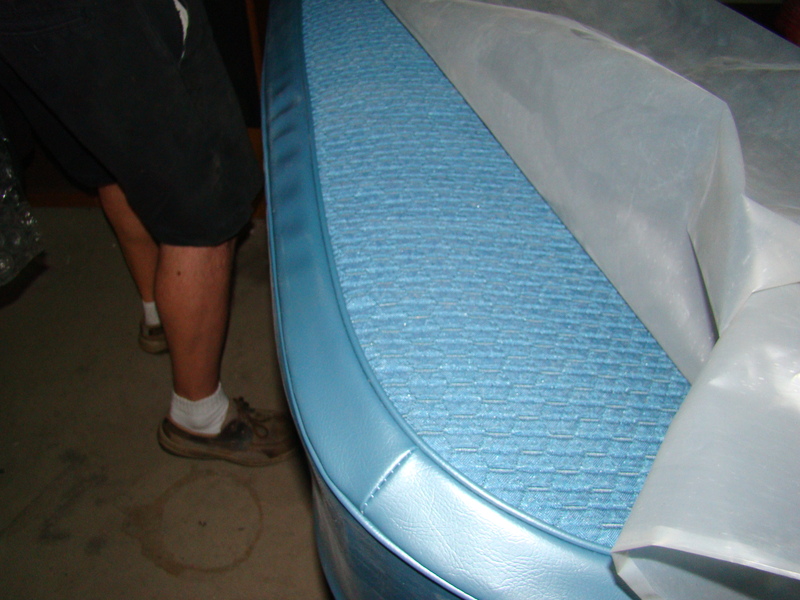
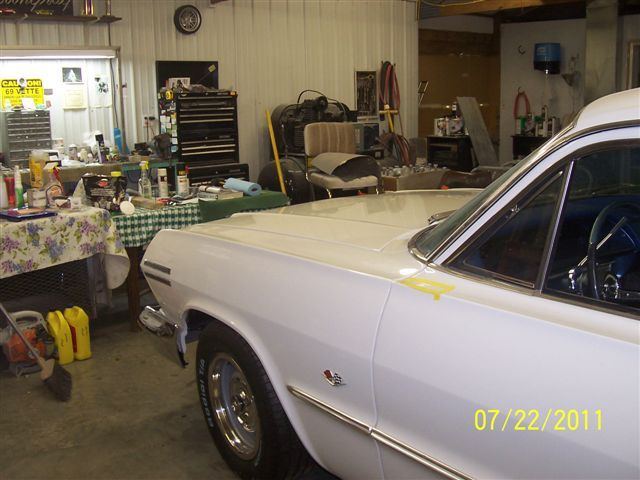
You can also catch a glimpse of what the seats will look like when everything goes all back together. The seat pictured is the back bench.
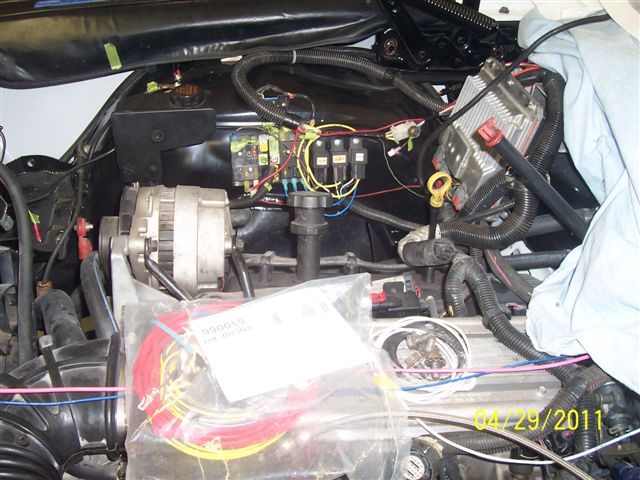
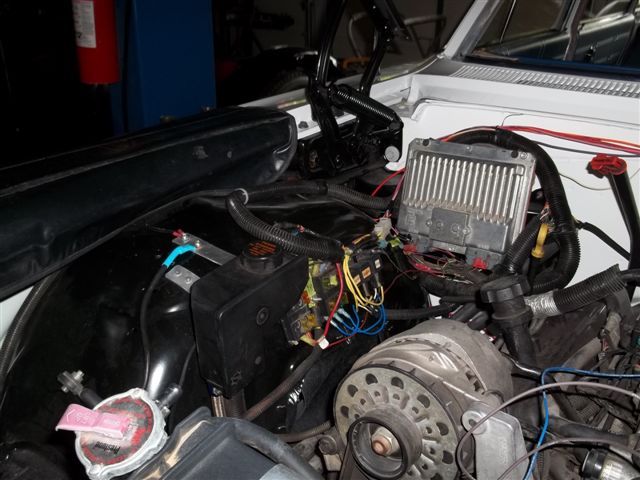
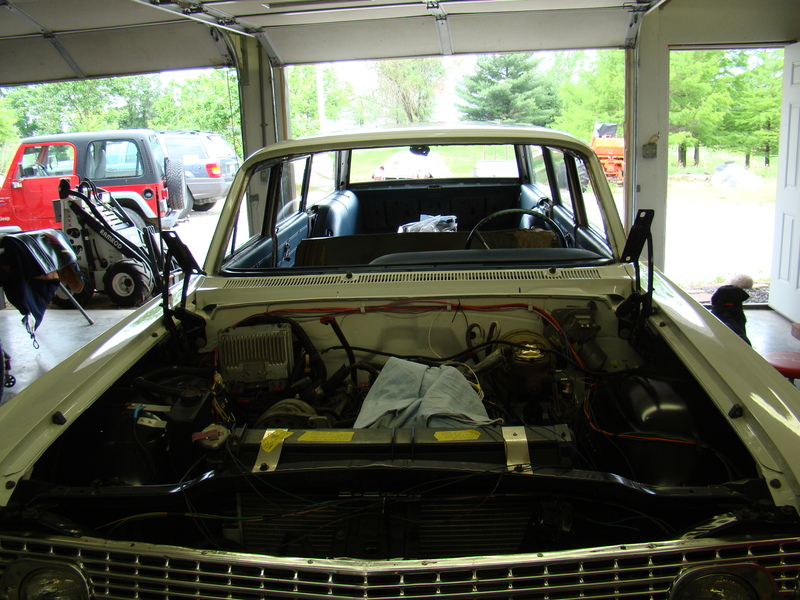
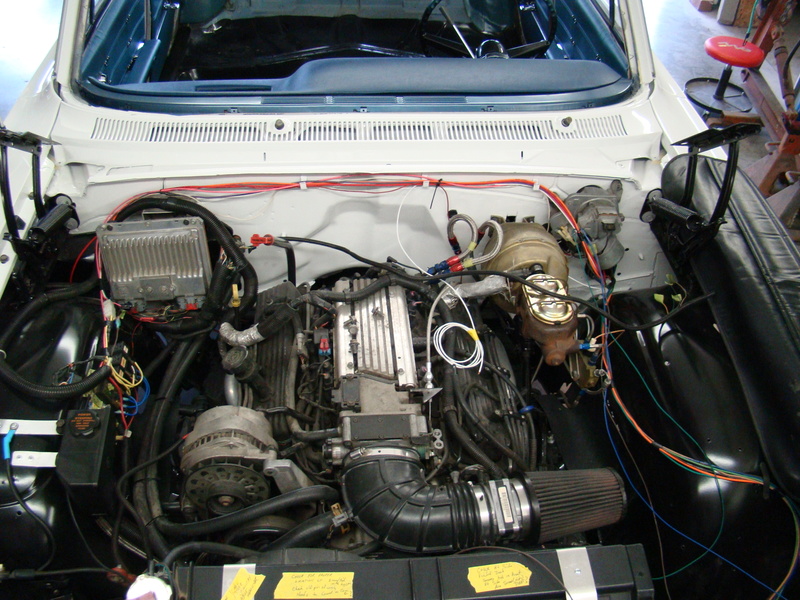
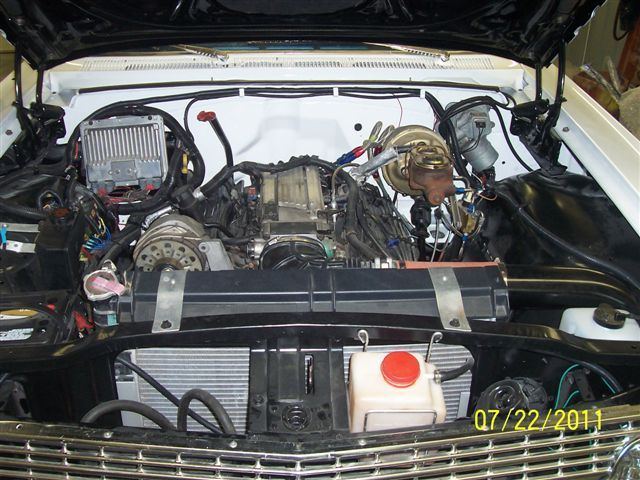
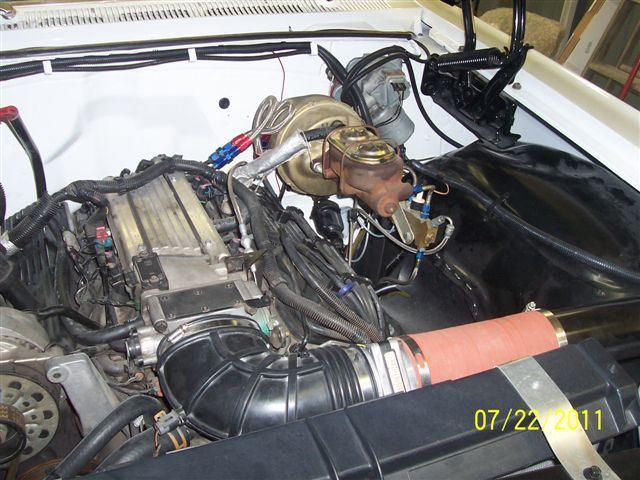
Here are some pictures of the engine bay. Rick is still having issues with 4 wires, and he has said he’ll loom the rest of the wires once everything is all wired up and running.
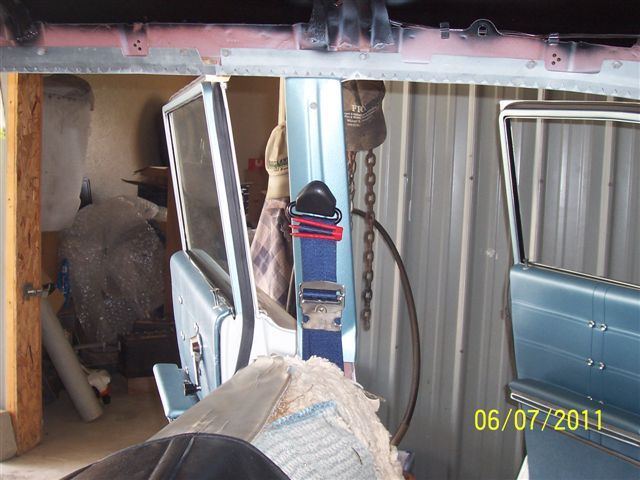
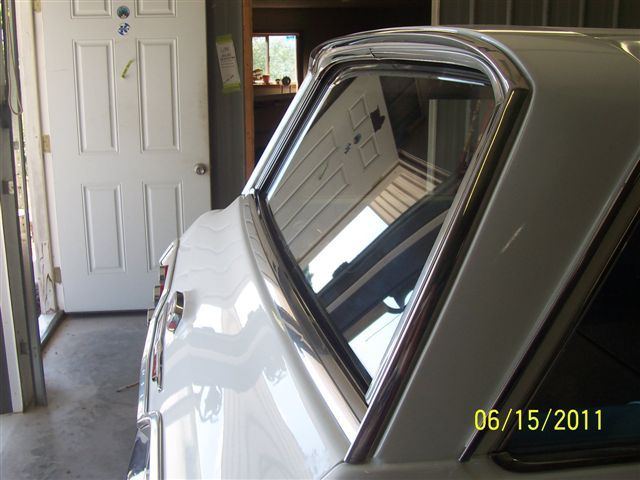
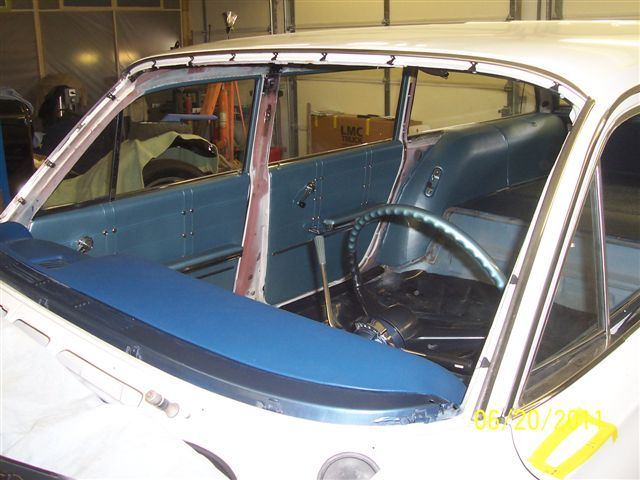
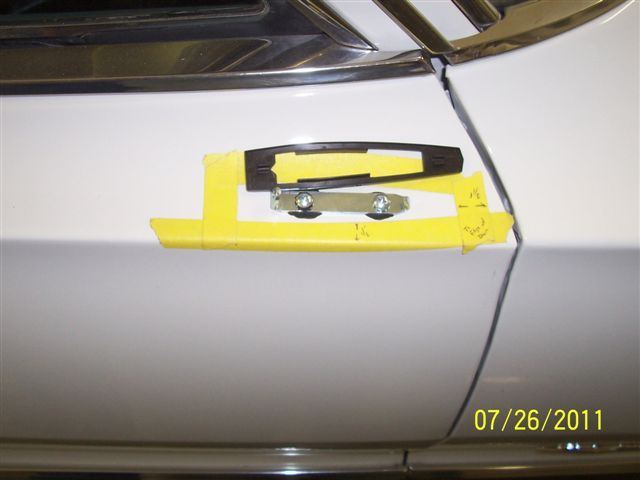
Now, originally, the wife and I had gone down to get fitted for the shoulder seat belt mounts and placement of the 1968-1972 rectangular mirrors to make sure everything was peachy. And, they are.
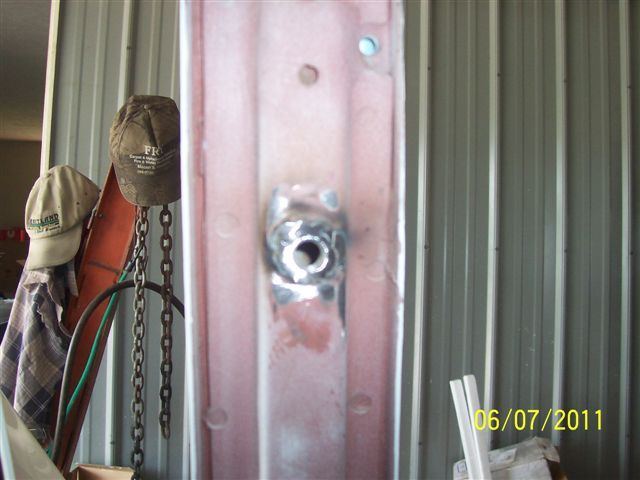
As for the shoulder belts, there is actually a hole in the B pillar, but we’re not quite sure what that hole is for. So the placement of them with that hole is just fine for me and the wife and anyone else who rides in the car. Rick will weld a nut on the inside so the bolt has something to screw into.
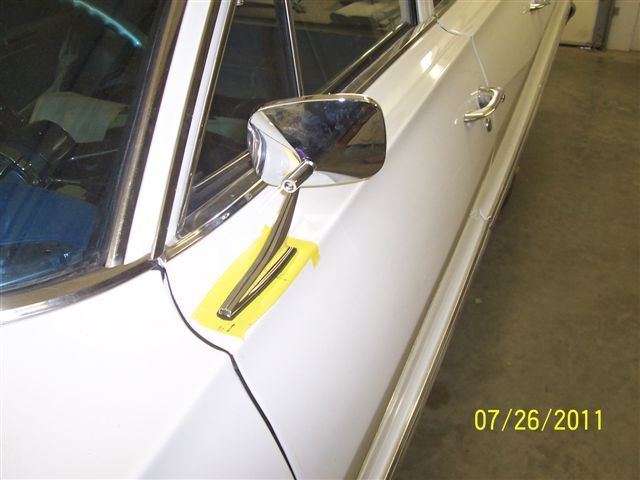
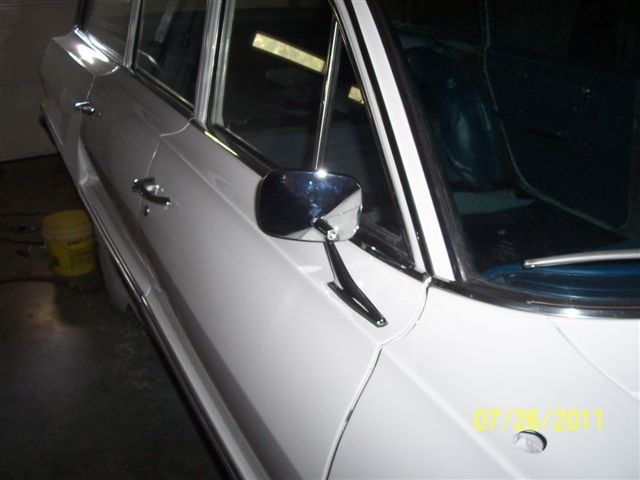
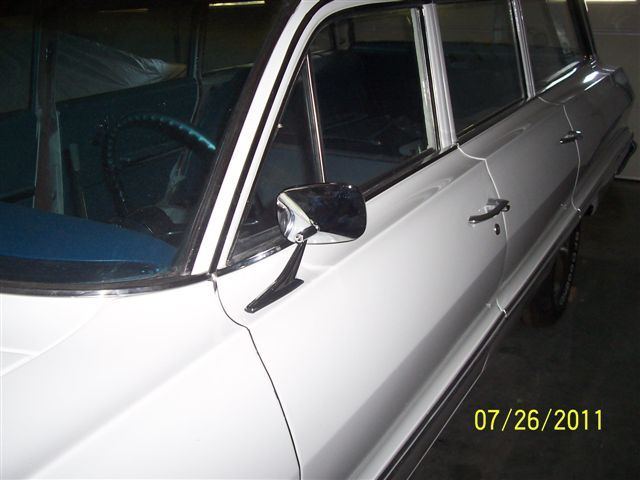
The mirrors will actually get mounted pretty close to the original positions. They are much bigger because they are rectangular so there will be more viewing surface.
Hopefully, the next set of pictures that Rick sends me will have the complete front bumper assembled, pictures of the seat belts mounted to the B pillar and the mirrors mounted to the doors.
Hope you all have enjoyed the thread so far. It won’t be too much longer till the ole girl is sitting back at her birth.
——————————————————-
June 6th, 2011:
Hey, gang. Just wanted to throw this up and give ya a little more insight on something I mentioned in my previous post.
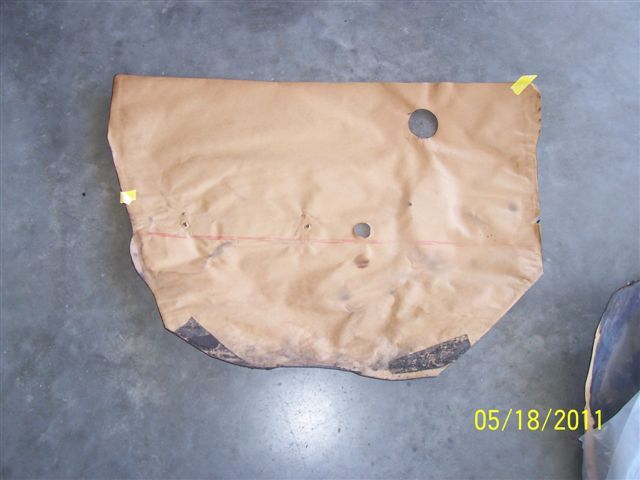
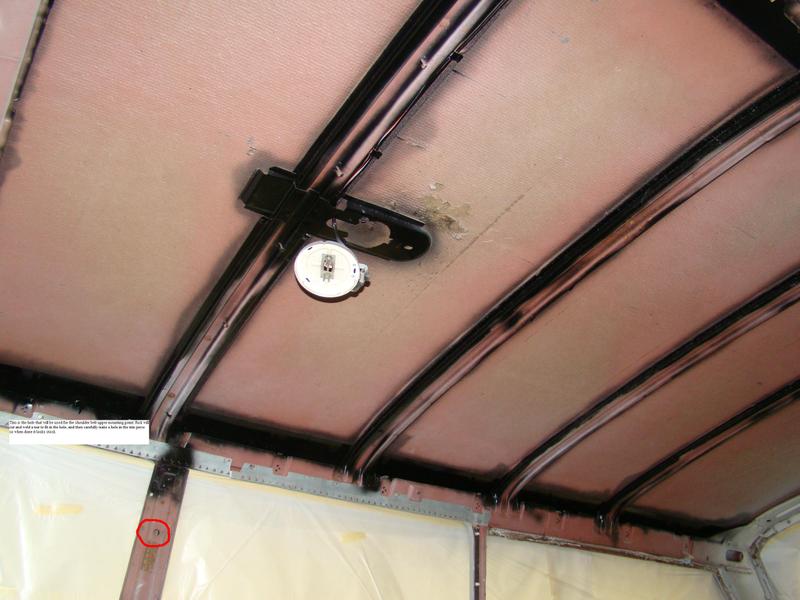
I had said that there was a hole on the B pillar that Rick was going to use for mounting the shoulder belts for the wagon. After scouring some pictures, I found one that has been posted before and you can see the lone hole that I am talking about. It’s circled in red.
Anyway, that’s all I have for now. More as soon as I get it.
——————————————————-
June 16th, 2011:
Good morning, NICO. How is everyone?
Well, I had a few minutes, so I thought I would post up the most recent pictures that I received from Rick recently.
Not much of a message from Rick as he is having some issues with his computer and been putting in long hours in the shop.
There is one picture of a broken O2 sensor that Rick has ordered a replacement for. There is also an issue with getting enough fuel pressure to start the engine. Other than that, I’ll just let the pics speak for themselves.


Also would like to say congratulations to my son. Happy 10th anniversary, my boy.
——————————————————-
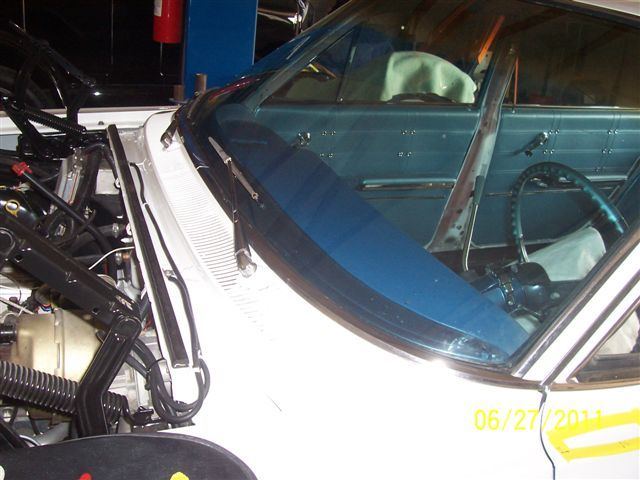
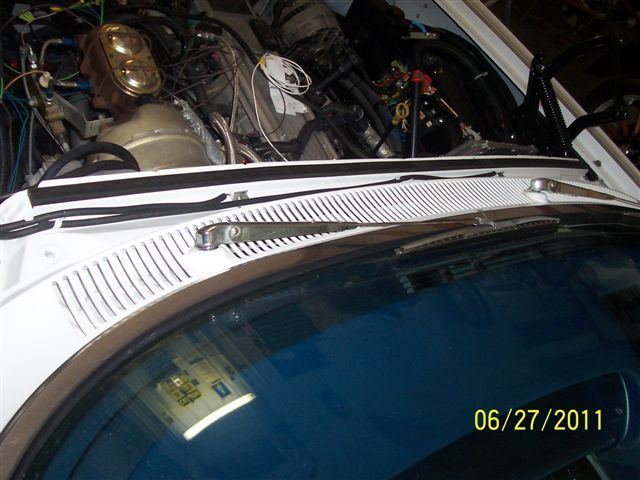
June 25th, 2011:
Hey, gang. How has everyone’s weekend been going?
Well, I recently received more photos so I thought it was time to get my butt in gear and get them on here and give you a taste of where the car is now. So, without delay, here’s Rick’s mail, then I have included a small segment for the last four pictures.
Mark,
Some more pics for you. The project is nearing the finish.
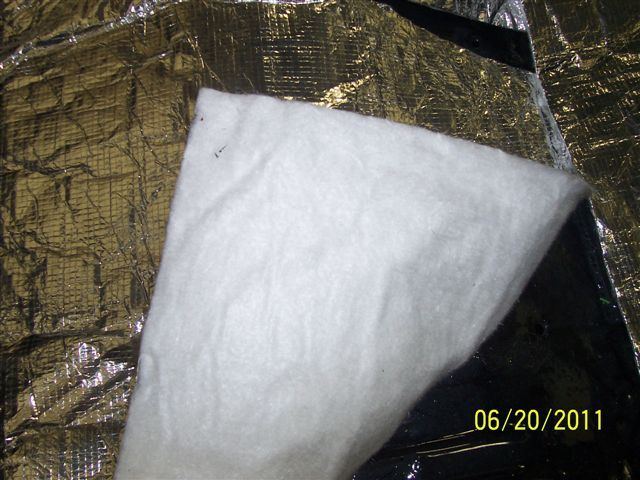
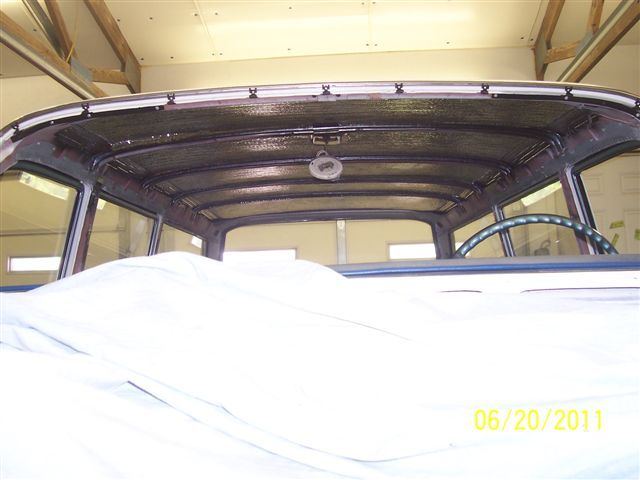
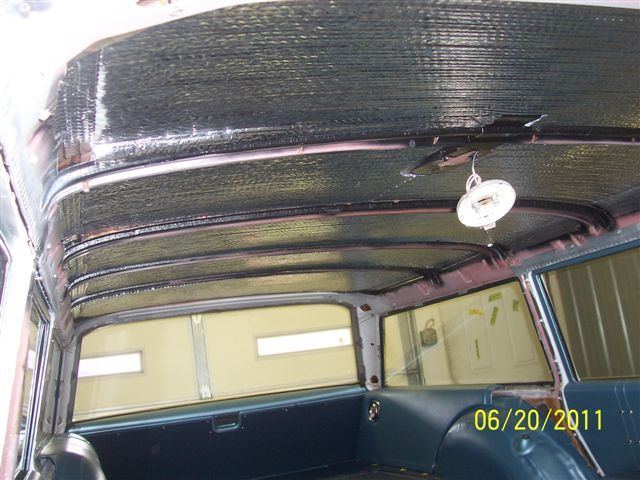
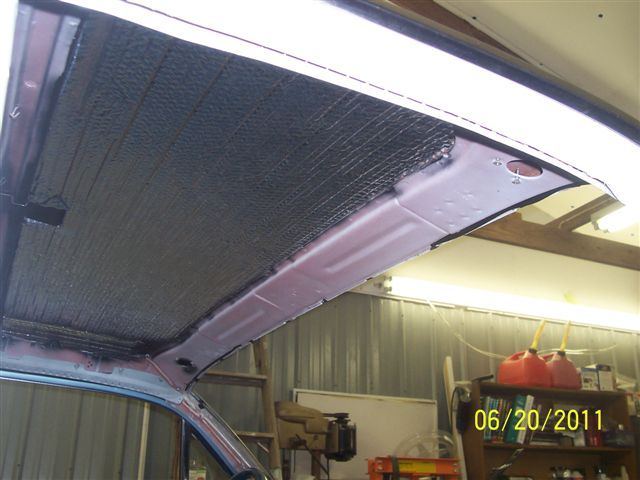
Windshield is going to be put in this afternoon (Fri-24th). As soon as the seats come back, I’ll trailer her to Columbia for the headliner install at Tiger Upholstery. After that, I’ll install carpet, seats, sill plates, buff her out, install mirrors, trailer her to Sid’s for alignment and SHE WILL BE DONE!!!!! I’ll drive her after that for awhile, to be sure and get the bugs out so She can come home to the ‘Burg. Hope this brightens your day.
Ole Man in MO.
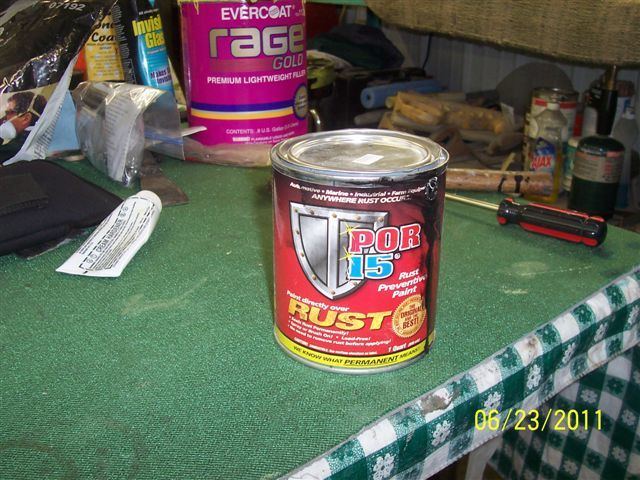
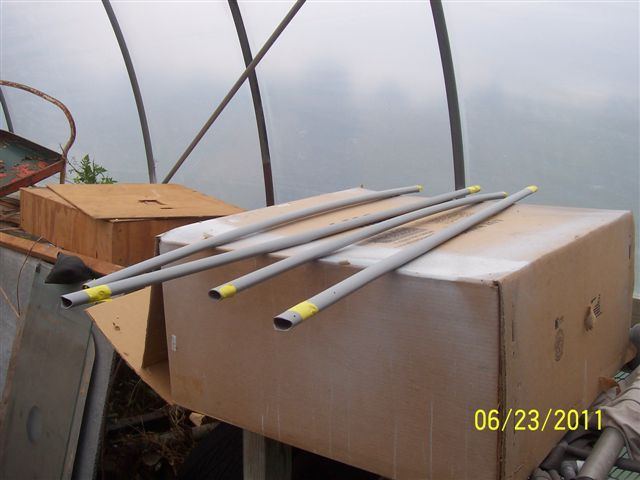
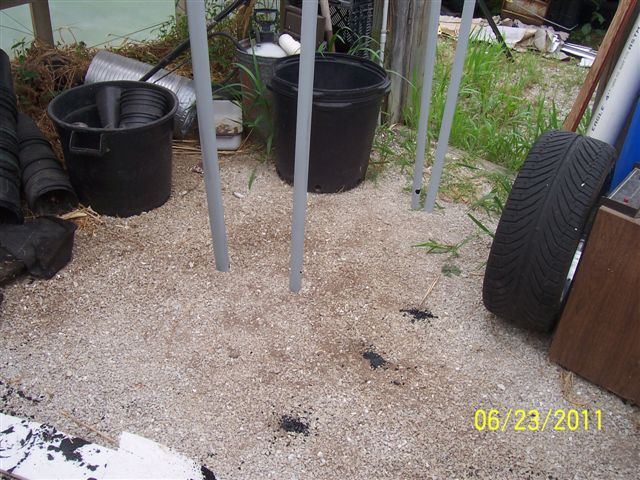
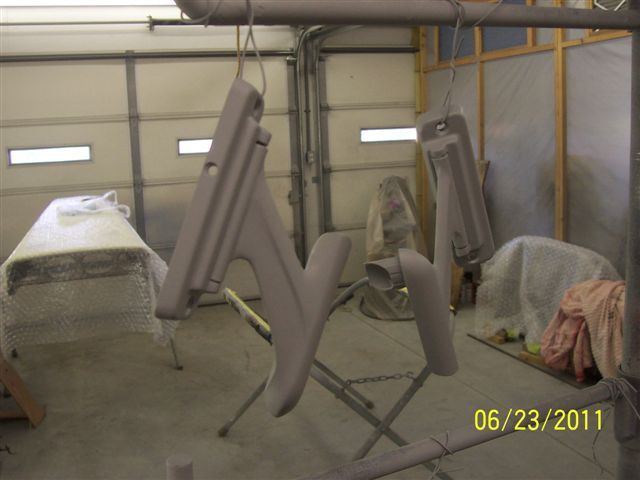
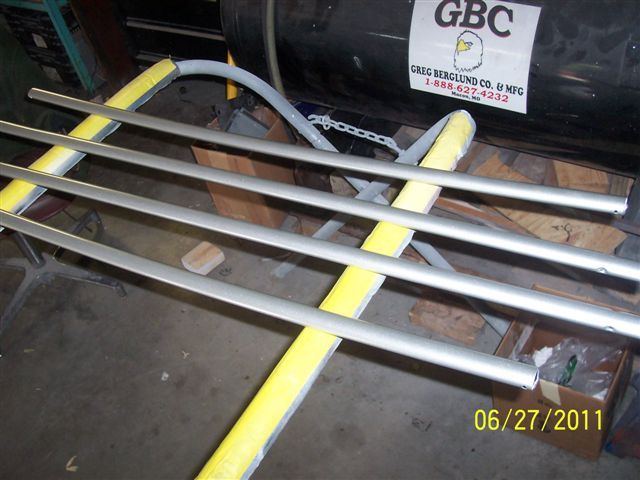
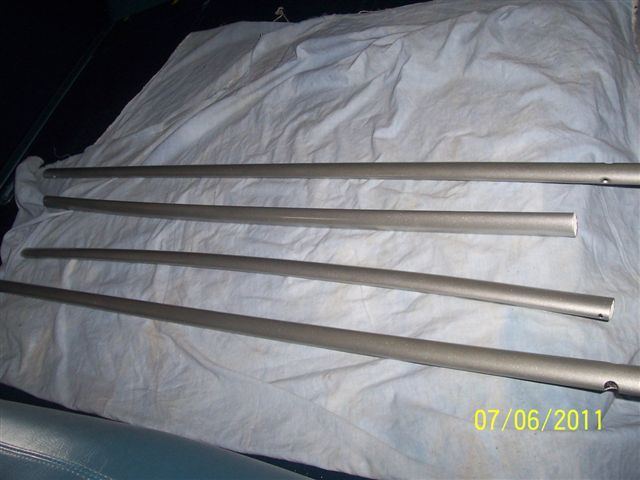
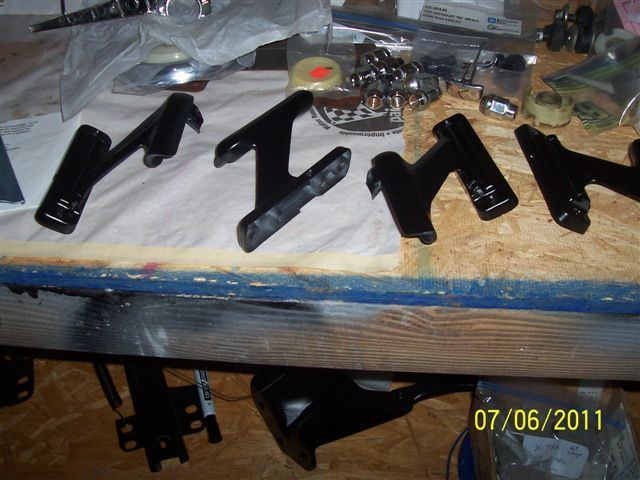
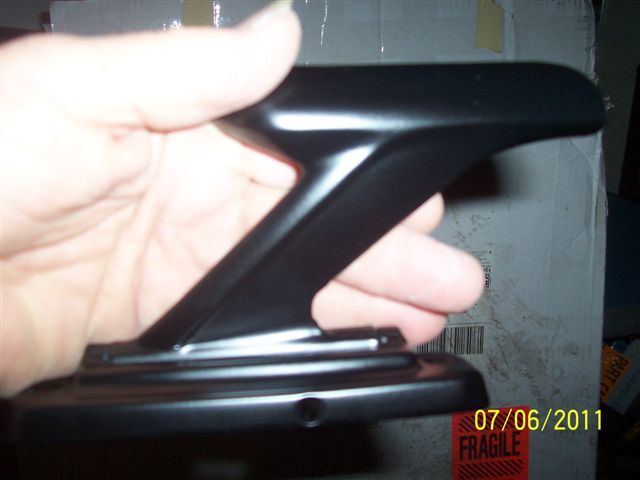
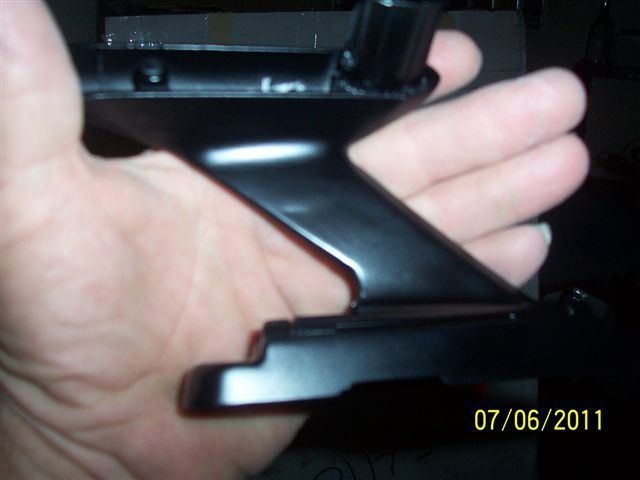
The following photos are parts for the roof rack and the POR15.
Rick had to blast the rack parts, do a lot of body work and then get them ready to paint because they were in no shape to be chromed again. He has poured the POR15 in to the tubes of the rack and let it coat the inside to try to stop anymore rusting.
So I am in the market for a chrome (good condition) 1963 roof rack in the future.
——————————————————-
July 8th, 2011:
Well, my followers, it’s been a bit, but I have some new pictures and a new e-mail from Rockin’ Rick down in MO. Things are starting to look interesting.
Mark,
Some more pics for you.
Still waiting on the fuel pump, but it should be in today (Thursday).
Larry, the fellow doing the seats, called Sunday and said the seats will be done soon. Just waiting to get a few things done so I can get the ole girl started and get her finished.
I went out Sunday to Larry’s place to help him resolve a small issue on the upholstery and got to see the seats. He has all of them done except for the back of front seat, which he had a question about how the corner was done from factory. It was no problem…he just wanted to make sure!!!!!
He really firmed up the bottom of the front seat and added some more dense foam to make the cover really tight. He also painted the bare metal seat frames before he did the upholstery, which impressed me. Your seats are very nice!!!!!
Larry Kuhn is the name of my friend doing the upholstery. He is very good and has been doing this for a long time.
Well, Mark, that’s about all I got for now. I’ll keep you posted as I progress. Sorry these are so late as we have been busy trying to get Sharon’s car fixed and have been down to one vehicle since last week. It has made things crazy around here for a while now. Oh well…everybody has their turn in the barrel.
Ha Ha!!!!!
Rick
And, now for some pictures. ENJOY!!!

——————————————————-
July 11th, 2011:
Well, I have a few pictures for ya today. Not a whole lot. Not much of an e-mail either, but quick and to the point.
Here we go.
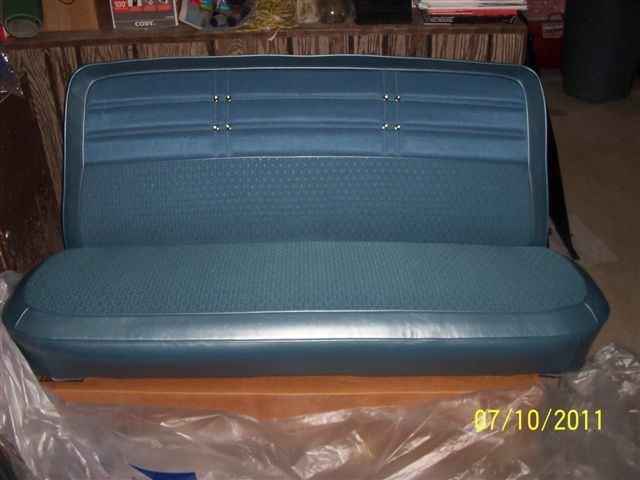
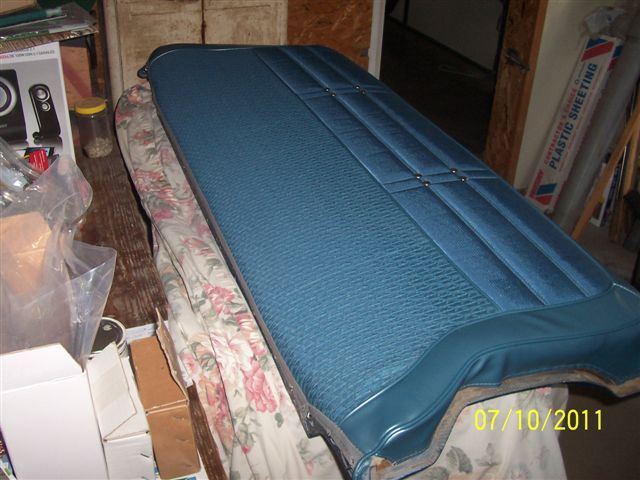
Mark,
Here are some pics of the seats. They came out really nice and will look great when trim is installed.
Fuel pump is not in yet. Hopefully today (Monday). I’ll keep you posted.
Ole man in MO!

——————————————————-
July 19th, 2011:
Hey, gang. Guess what. I have some new pictures to show you. So, here’s the letter from Rick.
Mark,
Here are some more pics for you to look at.
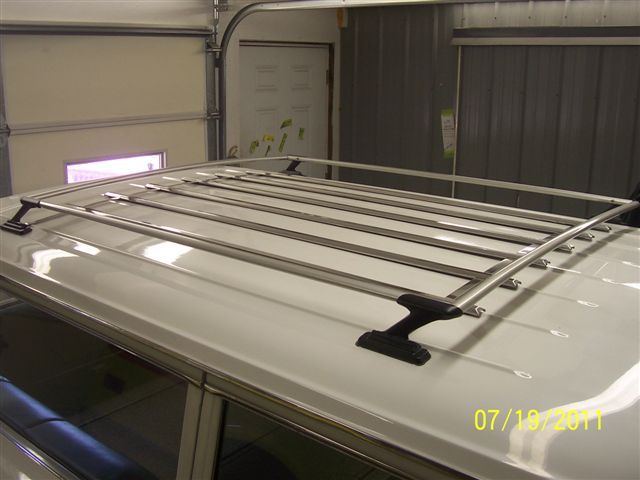
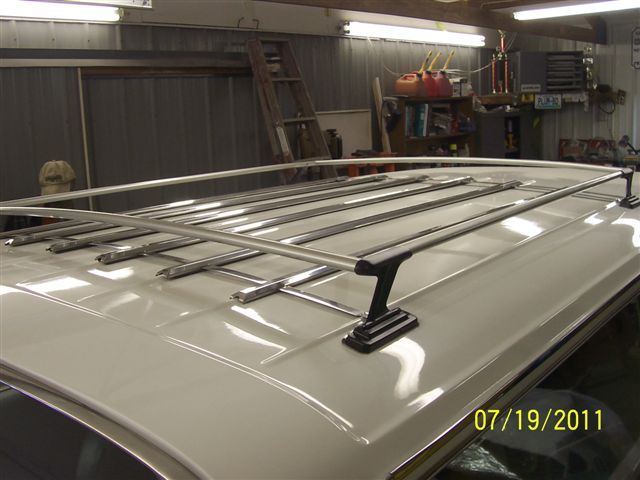
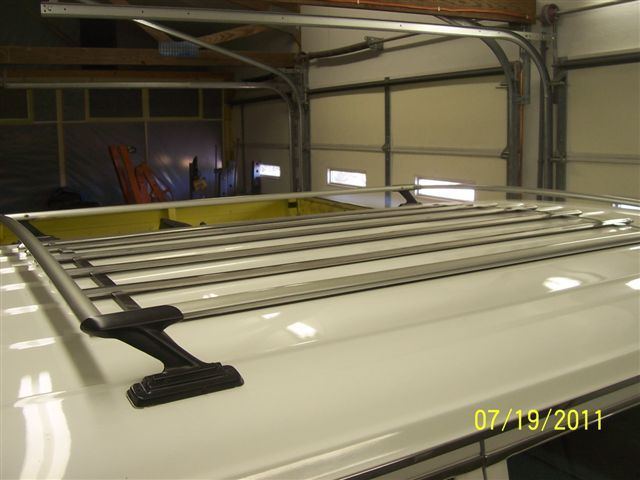
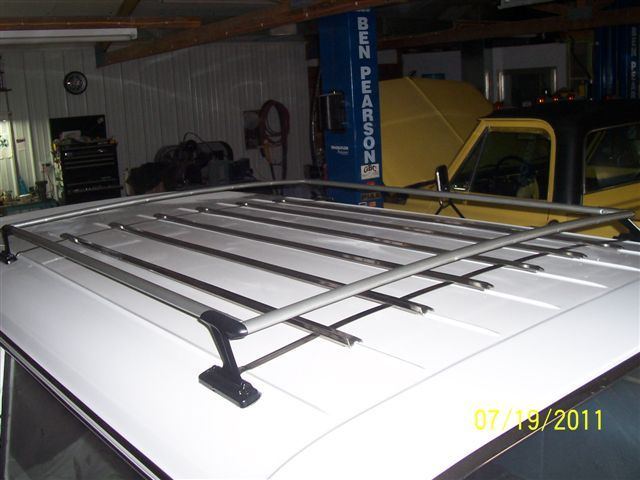
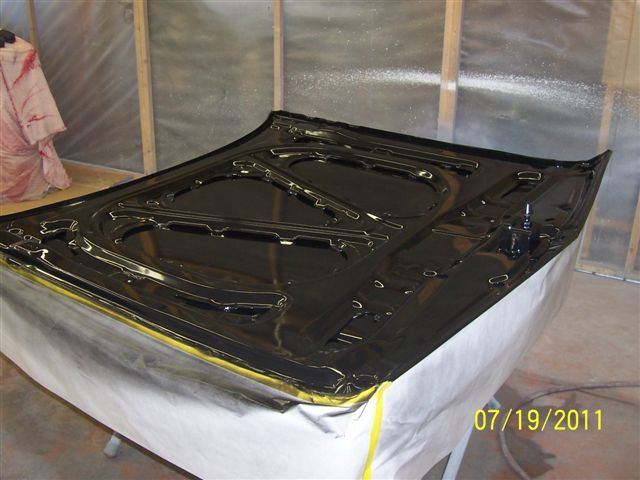
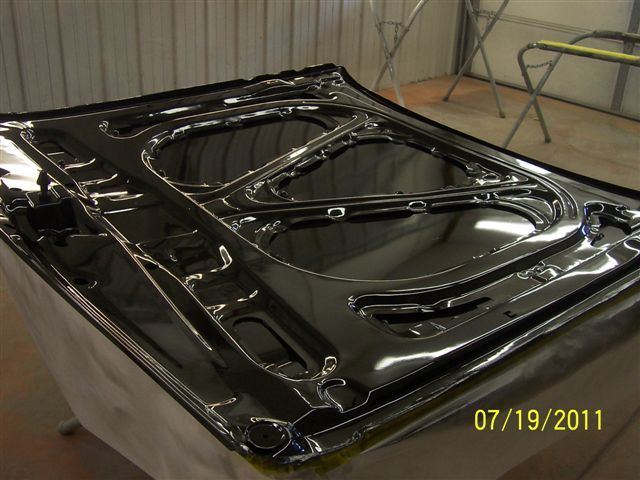
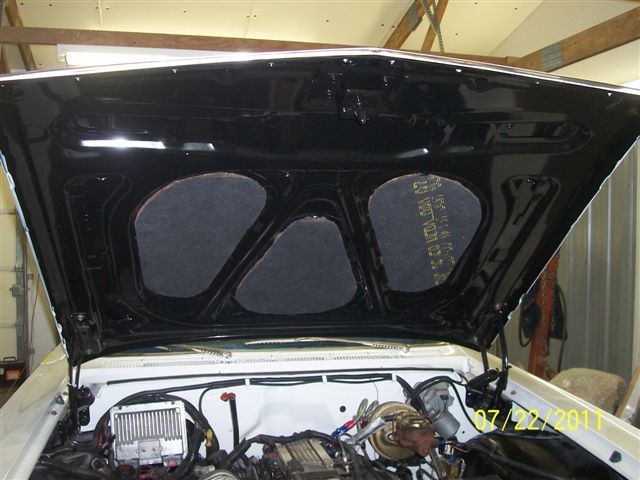
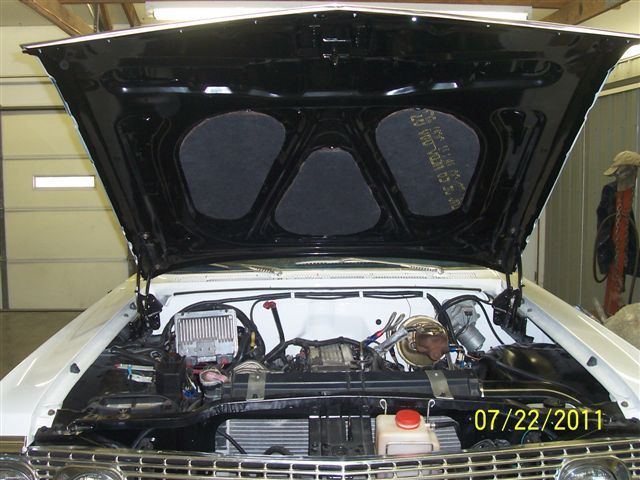
The roof rack came out really well, as you can see. The underside of hood is still a little wet in these pics, but should dull slightly when it gets fully cured. It is a semi gloss finish.
I will call you this evening about the starting problem as it is too lengthy for my poor typing skills…Ha! Ha!
Call you soon.
Rick
And, now for some pictures!

——————————————————-
July 21st, 2011:
Sadly, we are having a problem with the LT1 not wanting to run.
Rick has put a new electric fuel pump on and it will not start. She does run on short bursts of starting fluid and there is the correct pressure at the injectors but still no go. They are thinking the VATS system may have reared its ugly head and said, “Nope you are not takin me.” But it ran before, so some part of the program must have changed after being unhooked from the battery this long. Rick is loading her up for a field trip to scan the computer and see if any clues show up (I hope).
Maybe she just needs a day out, you know, cabin fever. Any ideas you might have, please let us know. Rick is reading this thread so your input will be read.
——————————————————-
July 21st, 2011:
Dr Rickenstein has done worked his magic and pulled the levers to the right extent and with the power of 12 volts “SHE is Alive” once more. With the help of the Professor William (Billy) Cox (a hot rodding buddy of Rick’s who is a whiz around LT1’s. He has one in a Cadillac) owner of Muffler Man in Macon MO. The two of them tracked it down to a wire that needed to be constant hot on the accessory terminal of the fuse block. All because the new harness had a different color wire from the original wires. So with luck Cassandra is off to get the headliner in next week then interior and then alignment.
Sorry for the confusion, hope this straightens it out.
——————————————————-
July 23rd, 2011:
Well, the ole girls time is nearing and Rockin Rick has sent us some pictures along with a better explanation of the VATS problem.
Mark,
Some more pics for you to view.
Sure am glad to get the starting problem solved.
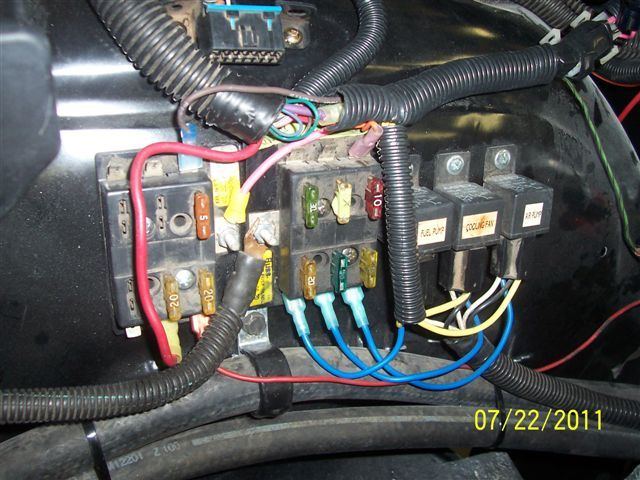
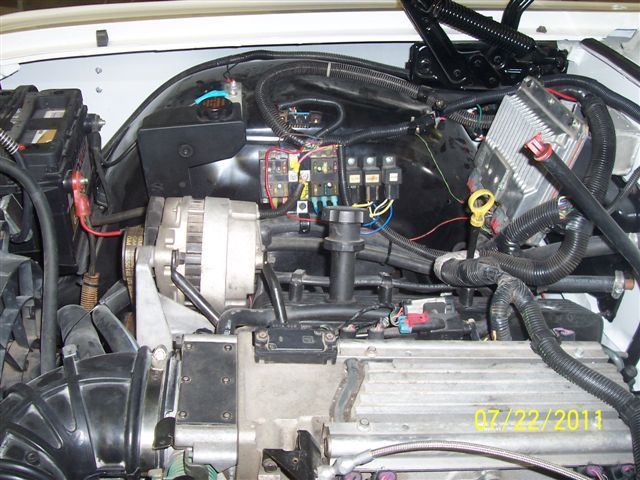
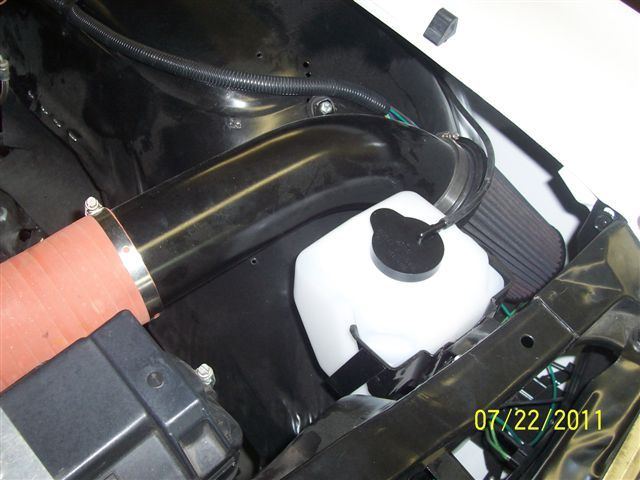
In the pic that shows the wiring connections, if you look closely, you can see a blade fuse with green tape on it. I moved the pink wire from this location to the present location on front fuse block. This terminal, supplies power to the VATS side of the computer. All I had to do was remove the blade terminal it had, change to a ring type terminal, and reinstall it to the front fuse block.
This terminal is cold until ignition is turned on and then it becomes hot and stays hot when ignition is turned to start engine. That was the whole problem as the hot (pink wire) was on the wrong location.
Your wagon starts immediately now and sounds great. I’ll keep you informed as progress unfolds. She WILL be home soon!
Ole man in MO
And now for the pictures.
——————————————————-
July 29th, 2011:
Hey, all. Again, the updates are coming faster than I can get them posted. Rick has been busy at work with Cassandra, as you will see in the pictures. There was a small spot that needed to be taken care of that he mentions in his e-mail.
Mark,
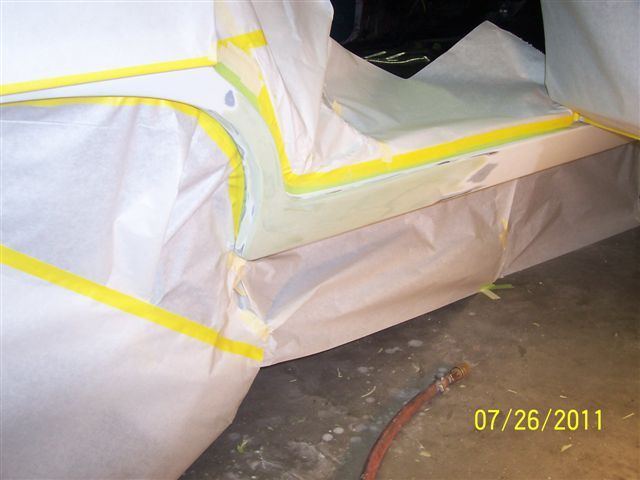
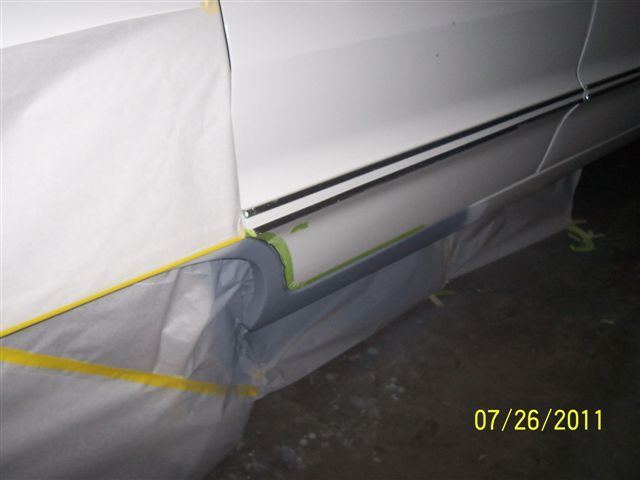
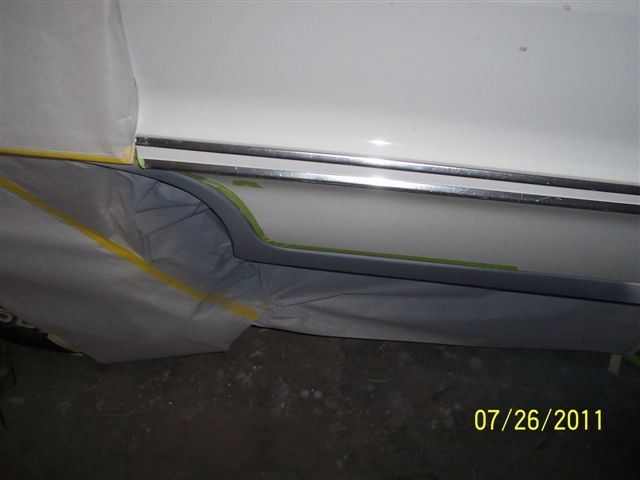
Here are the pics of mirror mounting and right side dogleg repair.
The wagon will go to the paint booth this weekend to get the repaired area painted. Monday she goes to Tiger Upholstery for the headliner and wind lace installation. When she returns, I’ll get the rest of interior completed, then off to Sid’s for the front end alignment.
After that I’ll take her for a little test driving, then hopefully, headed home to you for the River to River cruise.
Keep your fingers crossed!
Ole Man in MO.
——————————————————-
August 12th, 2011:
I know it has been a very long time since I have posted up here. There was a small snafu that was unseen until two weeks ago. As the Grand Ol’ Lady was taken down to Columbia Mo for headliner and windlace things came up and she had to be put on hold. After talking to everyone, it sounds as if the ball will be rolling by Monday the 15th if all goes well.
So please be patient and keep an eye to the thread and the road, as you never know when “We” may pop up in your neck of the woods.
——————————————————-
August 18th, 2011:
Well boys and girls, I guess I lied to you again about Monday the 15th of August. As far as I know the car is still in Columbia, Mo. waiting for its turn again. I hope Rick asked them to take pictures as they worked, but if not oh well.
So I’m sorry that this thread is just dragging along. I don’t blame any of the readers for dropping off of here as by now I have noticed that most of you have kicked back awhile ago. But someday we hope to be roaming the byways of this country.
——————————————————-


does the roof rack have spacers or rubber where it mounts?