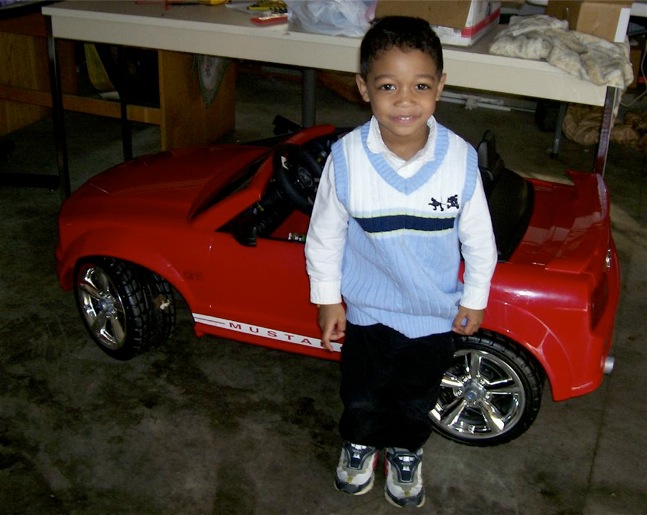
Back in 2005, my youngest brother turned three and I was about to get him a $10 pack of toy cars. I was at Wal-Mart with a friend and saw an Escalade, Hummer, Jeep, and this Mustang.
I said “Should I do it? Should I really do it? I always wanted one when I was a kid.”
Business was good that month so I figured why the heck not? After a minute or so of contemplation, I got a shopping cart and loaded it up. Just under $300 disappeared from my checking account.
The massively successful 2005 Mustang (the adult version made of steel), a retro-modern design by engineer Hau Thai-Tang and designer Sid Ramnarace, recalls the look and feel of the first-generation coupe without indulging in cartoonish parodies like the Volkswagen Beetle and Chrysler PT Cruiser.
These plastic Fisher Price cars do actually mimic the structural layout of modern unibody cars. The passenger compartment and rear which carry the bulk of the weight are a single structural piece for rigidity. It comes equipped with two electric motors (capable of 5 mph) and a 12-volt lead-acid battery.
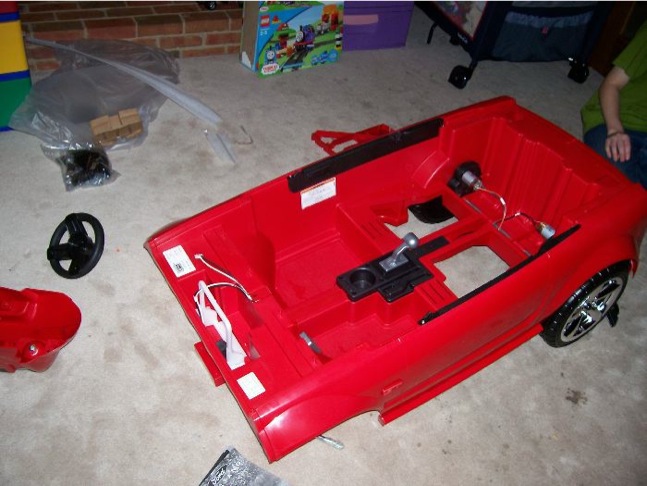
The nose, which houses the battery, attaches separately.
Even the steering system uses a non-powered rack and pinion configuration that one might find in small sports cars.
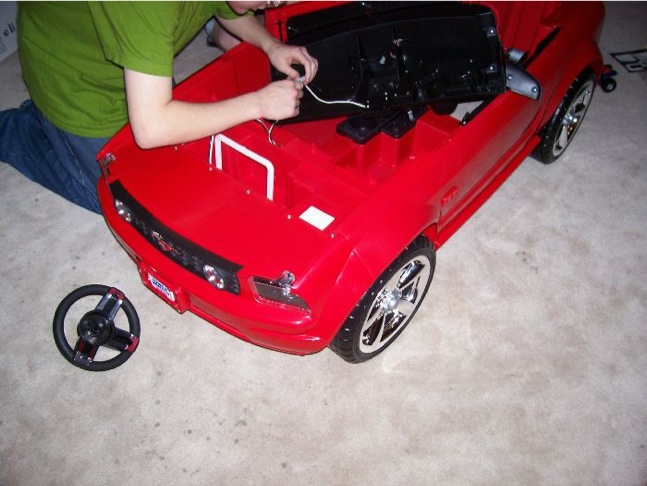
Without the advantage of robot assembly, it took us about an hour to put it together. The instructions were pleasingly simple and all the parts were easy to snap or screw together.
Inevitably and perhaps unfortunately, children grow out of their toys as they age and like real automobiles, electric toys can be passed down from generation to generation. My brother and sister have moved on to iPads and Kindles while the Mustang collected dust in the garage — lots of it.
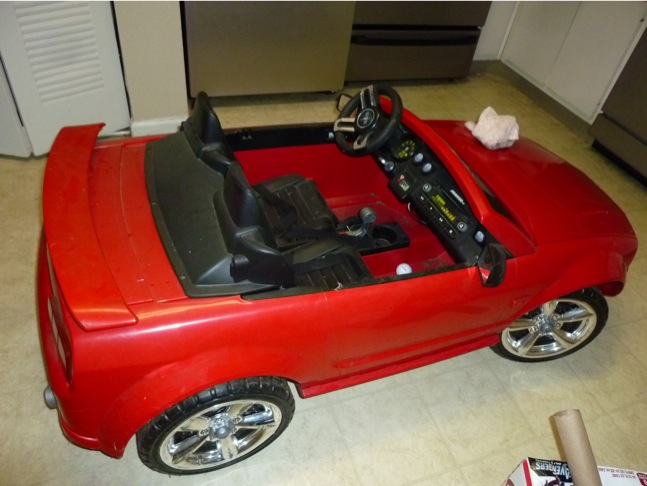
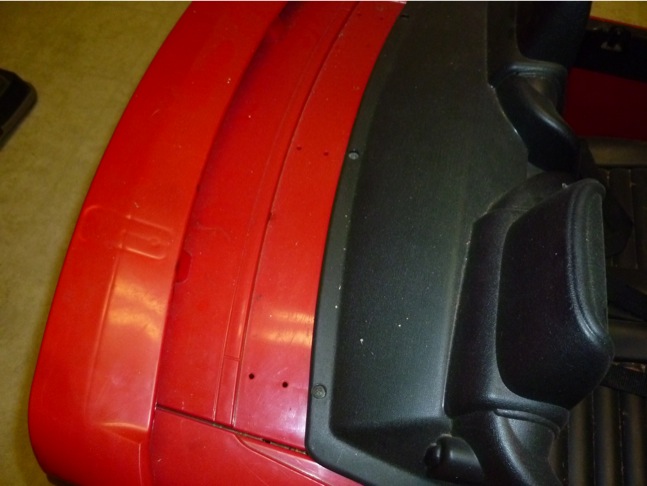
Before dealing with the dead battery or any other electrical issues, I had quite a bit of body and interior work ahead of me. The exterior, pictured below, was filthy, caked with dust and chock full of spider eggs, webs, and other creepy-crawly things that take residence in dark crevices.
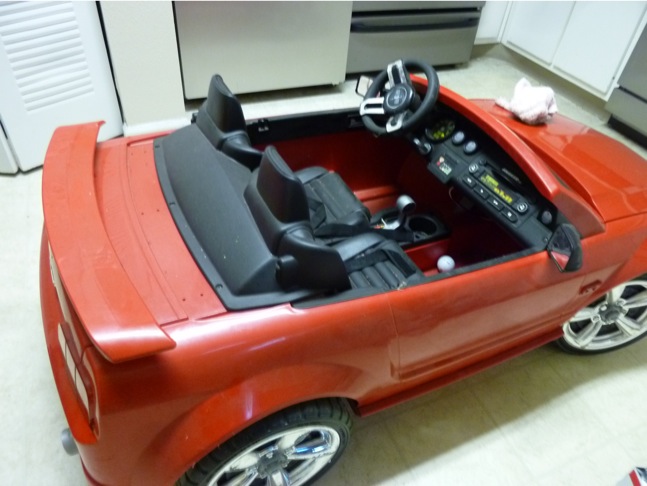
I took a wet rag and wiped down the exterior, bringing back some of the shine.
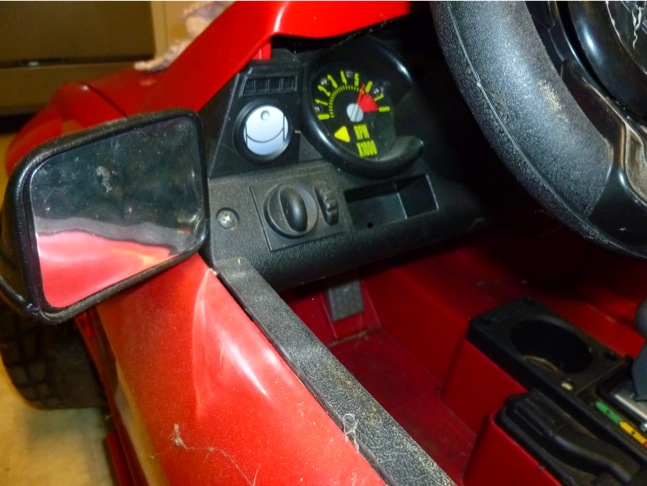
The interior is surprisingly well-appointed with a battery charge indicator, lighted gauges, a radio, a cupholder, a two-speed gearbox with reverse, and a key.
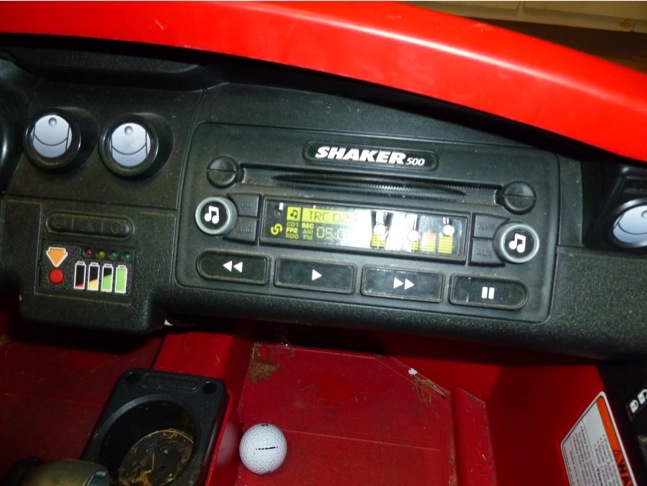
The key doesn’t do any actual locking or unlocking, but if you push the key in, the internal speakers play a startup and revving sound.
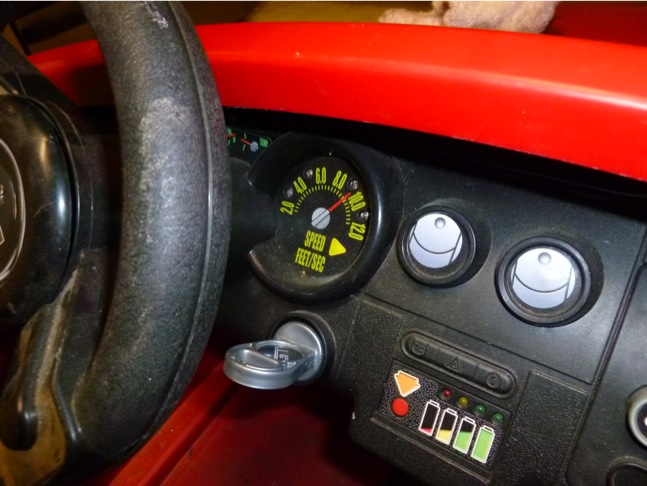
Red lights on the gauge cluster sweep across in sequence to suggest needle movement. It’s completely disconnected from reality, but for a toddler its as good as it gets.
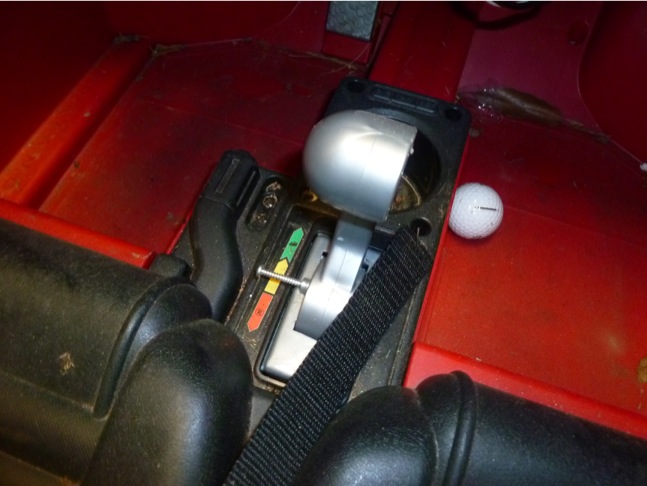
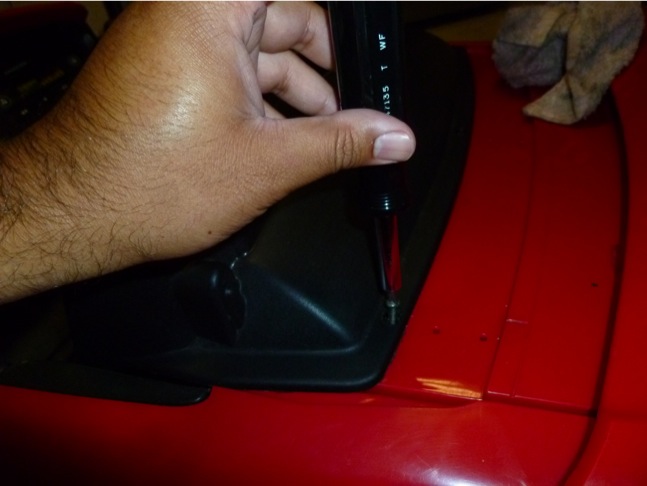
This lockout screw can be used to keep second ‘gear’ from engaging, limiting the car to 2.5 mph, half its top speed.
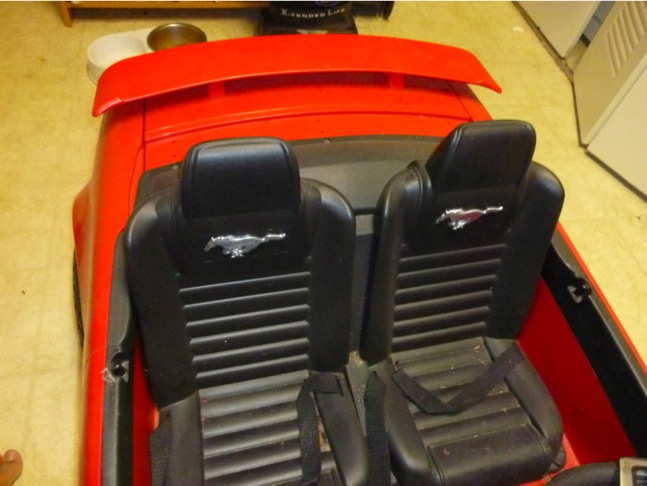
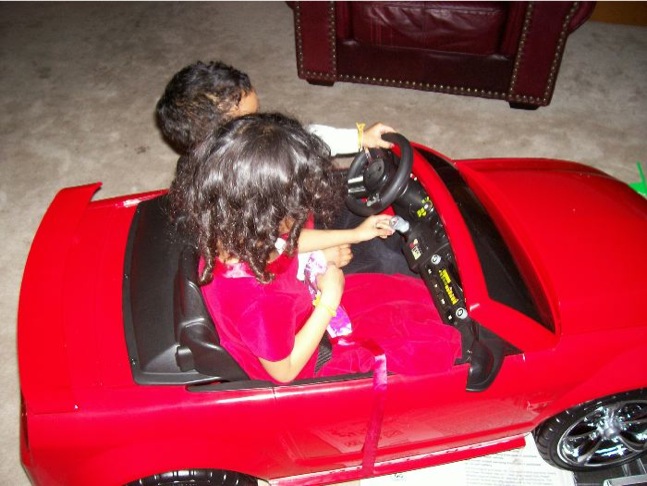
It even comes equipped with safety equipment — lap belts for the driver and passenger.
The front seats can be moved backward and forward by undoing two screws, lifting the seats, and reinstalling them.
I had quite a job ahead of me, using everything from wash rags to the shop vac.
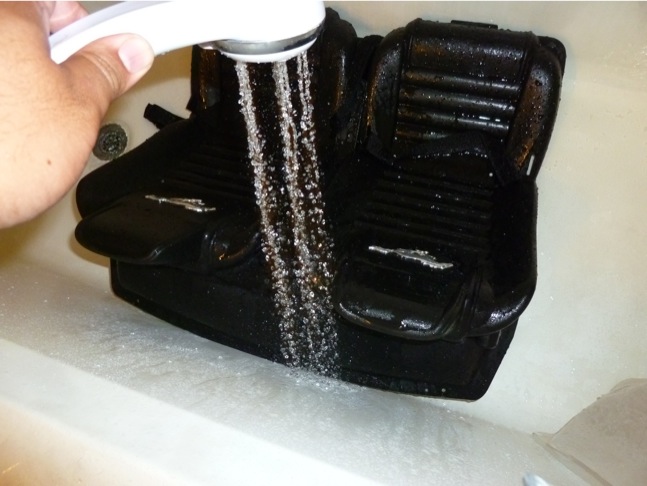
I tackled the easiest part of the job first, removing the seats for washing.
Years of dirt washed down the drain as the seats were pummeled with high pressure shower water.
Underneath was a mess of insects, spiders, spider eggs, and dirt, so out came the big guns:

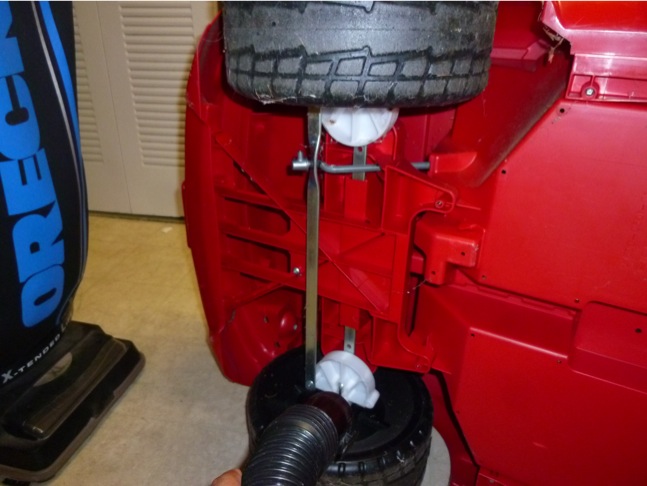
You can see the two small electric motors below. Like the real thing, this is rear-wheel drive. Though the tires are plastic, the child’s weight over the rear axle improves traction.

The motors also have built-in overheating protection, easily upgradable to something more robust.
Fast Tube by Casper
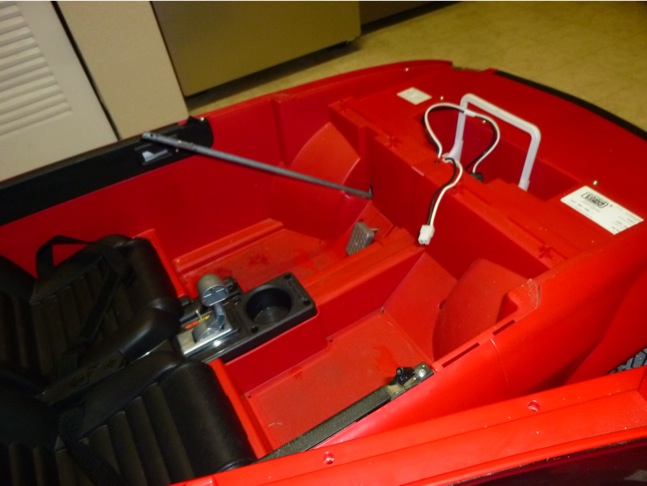
You can see the steering rack here as well as the “engine cradle” that holds the front wheel assembly and battery compartment.
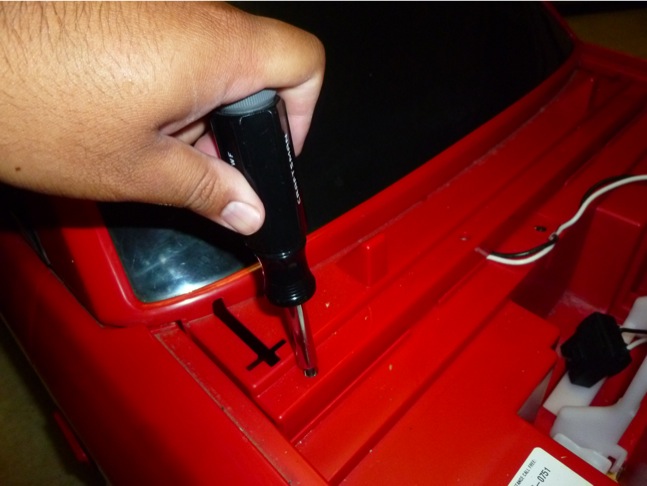
Next, I pulled out the windshield and dashboard to see if any bugs were crawling underneath.
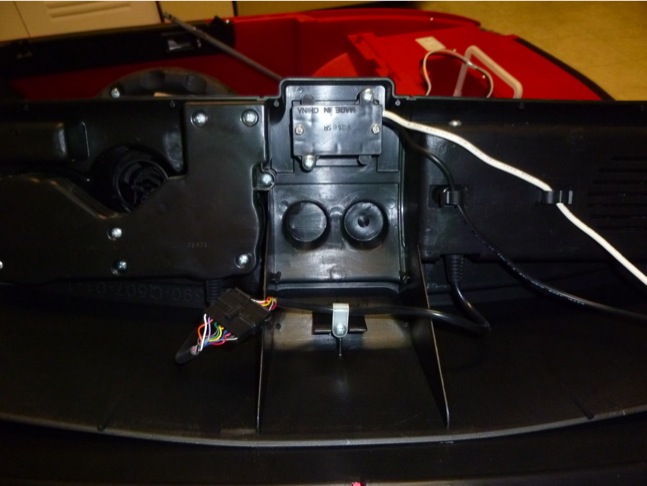
The electrical system is pretty simple. Pictured on the right is the radio, held in by two screws with one speaker on the back. The lights and sounds require separate AA batteries.
In the middle is the battery level indicator and on the left are the lighted gauges. The black wire harness connects the radio and gauges together so that pressing the key plays engine sounds through the radio speaker.
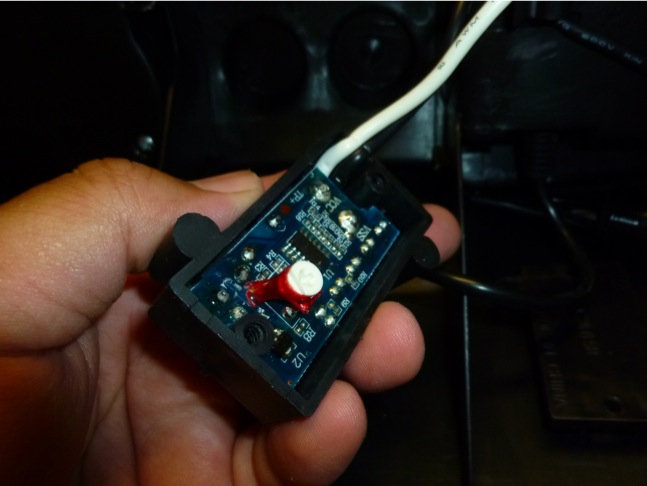
Nothing to see below. Just taking a peek inside the battery level indicator.
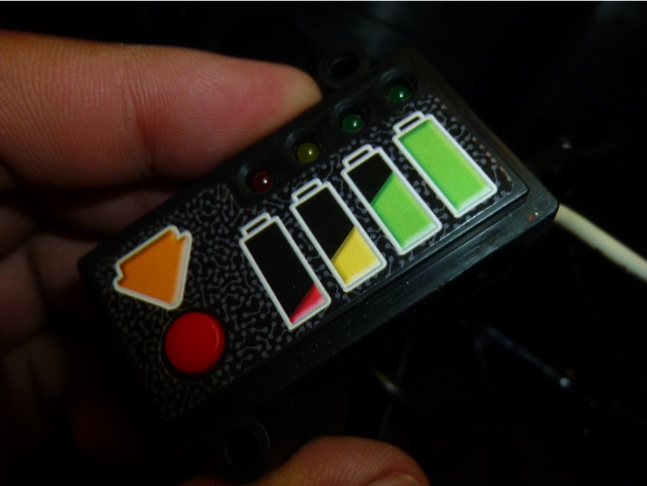
The green level on the far right corresponds to 12-14 volts.
Here’s how it looks with the dashboard and steering wheel removed.
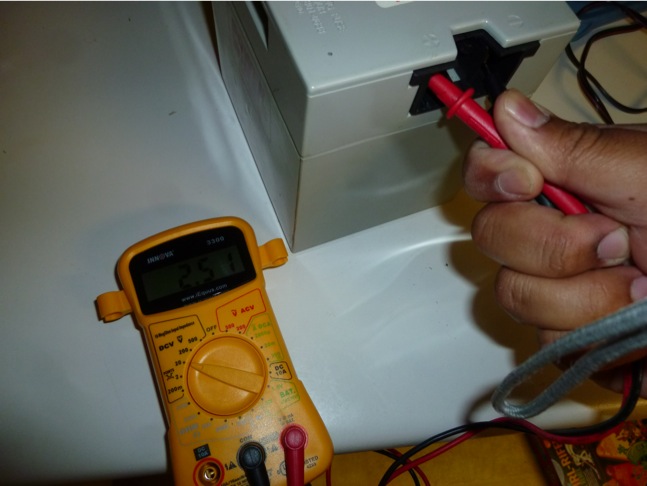
Not wanting to spend $70 on a new battery, I decided to see if I could revive the old one. After years of sitting dormant, it showed a paltry .04 volts.

Every morning I pulled it off the charger to check the voltage. Finally, after about two weeks, it read 14 volts.
I installed the newly revived battery, hit the throttle, and it zipped forward. Mission accomplished!
It will, however, need to be fully discharged and recharged a few times to properly condition the battery.
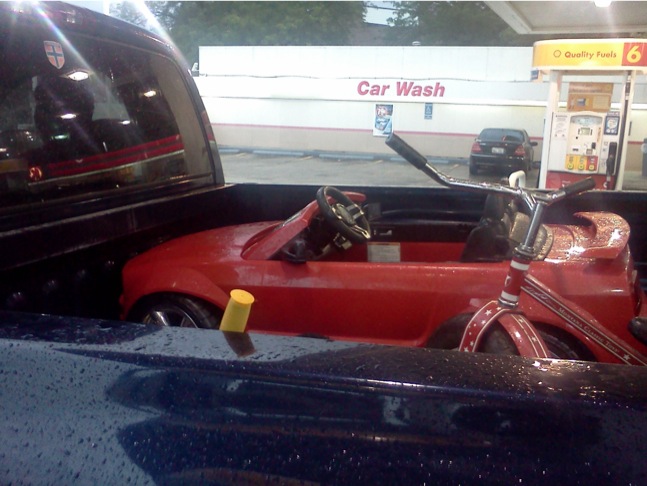
We loaded it up in the back of my truck along with some other gifts and gave it to Luke, my friend’s toddler-aged son. I also pulled the batteries from the radio — that could drive a parent insane pretty quickly.